7 Must Have items when Starting a Music Tech Course
Are you about to start a music tech course this Autumn? If so it can be a very exciting time but also filled with a degree of trepidation. While most music tech courses will have state of the art equipment and facilities this is not going to be available to you 24/7. That’s why having some gear of your own will enable you to flourish in your course and experiment independently So with this in mind lets take a look at 7 bits of kit that could help support your course and learning.
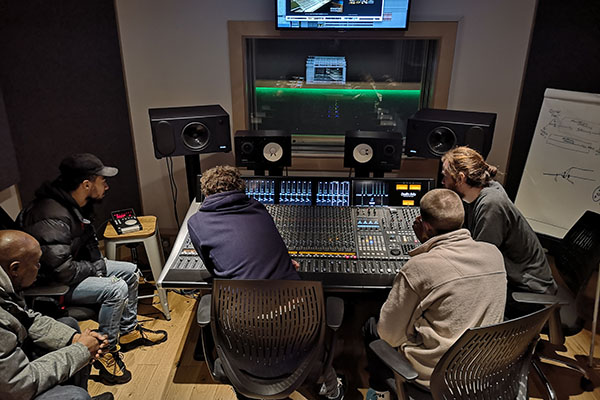
1. Laptop/Desktop Computer
The most important piece of equipment you’ll need for your music tech course is your computer. All of your recording, mixing, and plugin processing happens here, so the machine you choose has a direct impact on how smoothly your projects run. A solid CPU, plenty of RAM, and enough storage are essential for handling multiple tracks, virtual instruments, and effects without glitches or long render times.
One of the first choices you’ll face is Windows vs. Mac. This can be a big decision, and the best approach is to check what your course uses. If your college teaches with Logic Pro, you’ll need a Mac; if they use FL Studio, Studio One, or another Windows-based setup, going with Windows will make your life easier. Matching your school’s system ensures compatibility and avoids headaches such as file-sharing.
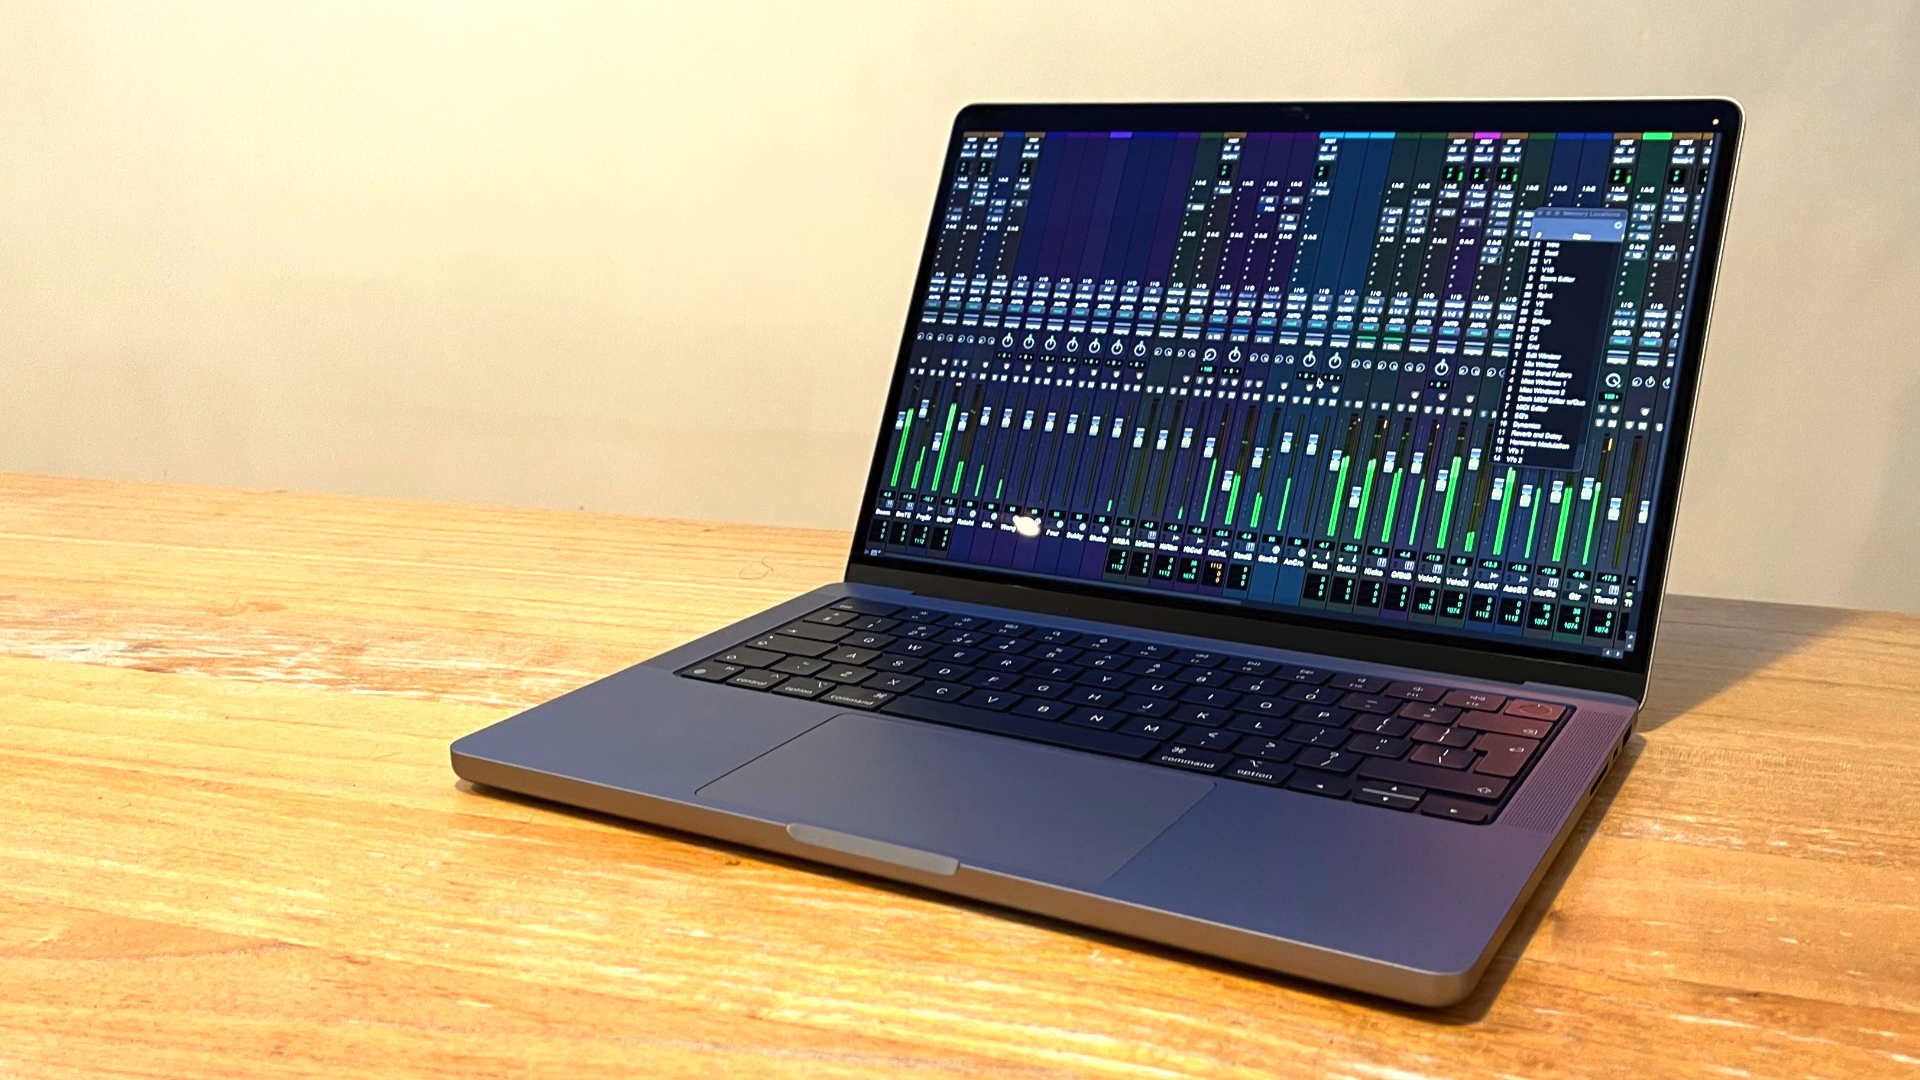
You’ll also want to weigh up laptop vs. desktop. Desktops generally offer more power for the price, which can be appealing for a home studio setup. But laptops win out on portability. And this is a huge advantage as a student. Whether it’s collaborating at a classmate’s place, working in the lab, or using the same machine for essays and coursework, a laptop is by far the more flexible option.
Finally, budget plays a big role. Buying second-hand or refurbished can stretch your money further, though it comes with some risk. If you do go this route, look for certified refurbished models from reliable retailers for extra peace of mind. Don’t forget to check out student discounts too. Many brands, including Apple, offer reduced pricing for education, making this a great time to invest in a machine that will last you well into your music-making journey.
2. DAW
The next major decision is which DAW (Digital Audio Workstation) you’ll use. As mentioned earlier, the software your course is built around will play a big role in this choice. Aligning with the DAW your college teaches makes collaboration and coursework much easier.
That said, it’s also worth thinking about your personal workflow and musical goals. Each DAW has its own strengths with some aimed more towards electronic beat-making, while others are particularly good for live recording or film scoring. The good news is that most courses focus on teaching the core principles of music production (recording, composing, arranging, mixing, and mastering) rather than tying you to one piece of software. These skills transfer across almost any DAW you end up using.

Cost is another key factor. Full versions of some DAWs, such as Ableton Live or FL Studio, can cost over £400. Logic Pro is more affordable at around £199.99 (Mac only), while Reaper offers an excellent discounted license for about $60. Many companies also provide student discounts, so it’s well worth checking before you buy. With the right choice, you’ll have a DAW that not only works for your course but also supports your creative projects well into the future.
3. Other Software
Your DAW will already cover most of your production needs. Nearly all modern DAWs come bundled with a wide range of stock plugins such as EQs, compressors, reverbs, samplers, and even virtual instruments. These are more than capable of getting you started. In fact, mastering these built-in tools is often the best way to learn the fundamentals of sound design and mixing before investing in third-party software.
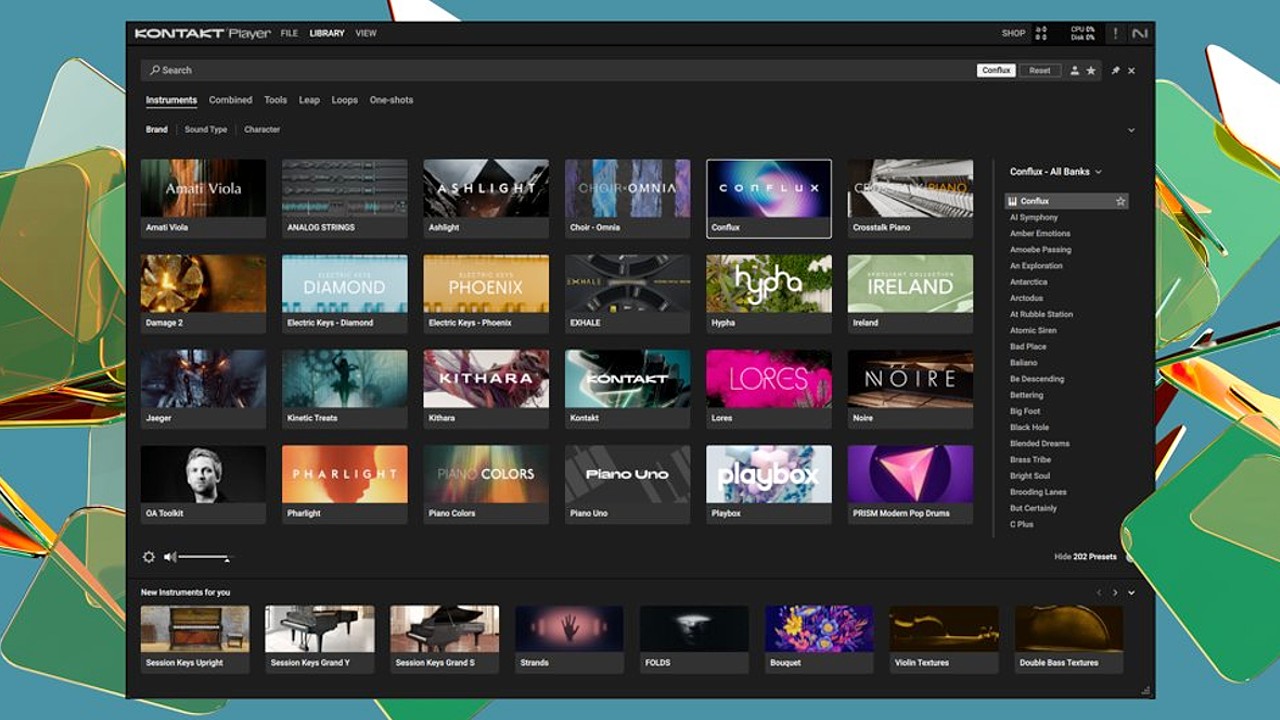
That said, depending on your musical direction, there are some specialist tools worth considering. For example, Kontakt by Native Instruments is one of the most widely used software samplers in the industry. It not only comes with a large collection of professional-quality sample libraries but also acts as a platform for thousands of third-party instruments. Many of these add-ons are free but require the paid version of Kontakt to run. If you plan to use a lot of realistic instruments like orchestral sounds, world instruments, or drum kits, Kontakt is a very valuable investment.
There are also plenty of budget-friendly or free plugins available. Many developers offer free versions of their software with limited features, which can still be very useful while you’re learning. For example, free reverbs, delays, synths, and mastering tools are widely available online, and often only require payment if you want advanced features. Sites like Plugin Boutique and Plugins for free are good places to explore what’s out there.
It’s also worth remembering that your course may require non-music software. This might include project management apps, design tools for cover art, or video editing software if your work involves sound-to-picture. In many cases, free or student-discounted versions of these programs are available—so a bit of research can save you a lot of money.
In short: start with what your DAW provides, expand only when you hit a limitation, and always check for educational discounts or free versions before paying full price.
4. Audio Interface
If you’re working entirely “in the box” (using only virtual instruments and samples), you may not need an audio interface right away. However, if you plan to record vocals, instruments, or external gear, an interface is essential. It acts as the bridge between the analogue world (mics, guitars, keyboards) and your DAW, converting audio signals to digital for recording, and sending high-quality sound back out to your headphones or monitors with minimal latency.

There are countless models on the market, from affordable two-channel units designed for solo producers to large, professional systems used in commercial studios. As a student, you’ll likely be looking at the budget-to-midrange end. The key question is: how many inputs and outputs do you actually need?
- For singer-songwriters, beatmakers, or producers mainly working solo, a 2-in/2-out interface is usually plenty.
- If you plan to record a full band, drum kit, or multiple mics simultaneously, you’ll need an interface with more inputs (often 4, 8, or more). These cost more but save hassle later if you know multi-tracking is part of your workflow.
There’s also a healthy second-hand market for audio interfaces. This can be a smart way to save money, but make sure the model you’re buying still has driver support for your operating system (older units can be incompatible with modern Windows or macOS updates).
In short, don’t overspend on features you won’t use, but make sure your interface has enough flexibility to handle your immediate recording needs with possibly a bit of room to grow as your setup evolves.
5. Controller
A controller isn’t strictly essential for getting started. You can use your computer keyboard or mouse to program notes and trigger sounds but it’s not the most inspiring way to make music. A good MIDI controller gives you a much more hands-on and expressive way to play instruments, trigger samples, and shape sounds in your DAW.
Controllers come in two main forms:
- Keyboard-style controllers – ideal if you’re writing melodies, chords, or basslines. These range from small 25-key models that fit in a backpack to full-size keyboards for more serious playing.
- Pad-based controllers – better suited to beat-making, finger drumming, and triggering samples, often favoured by producers in hip hop and electronic genres.
- Hybrid controllers – combine keys and pads, offering flexibility if you want to do a bit of both.
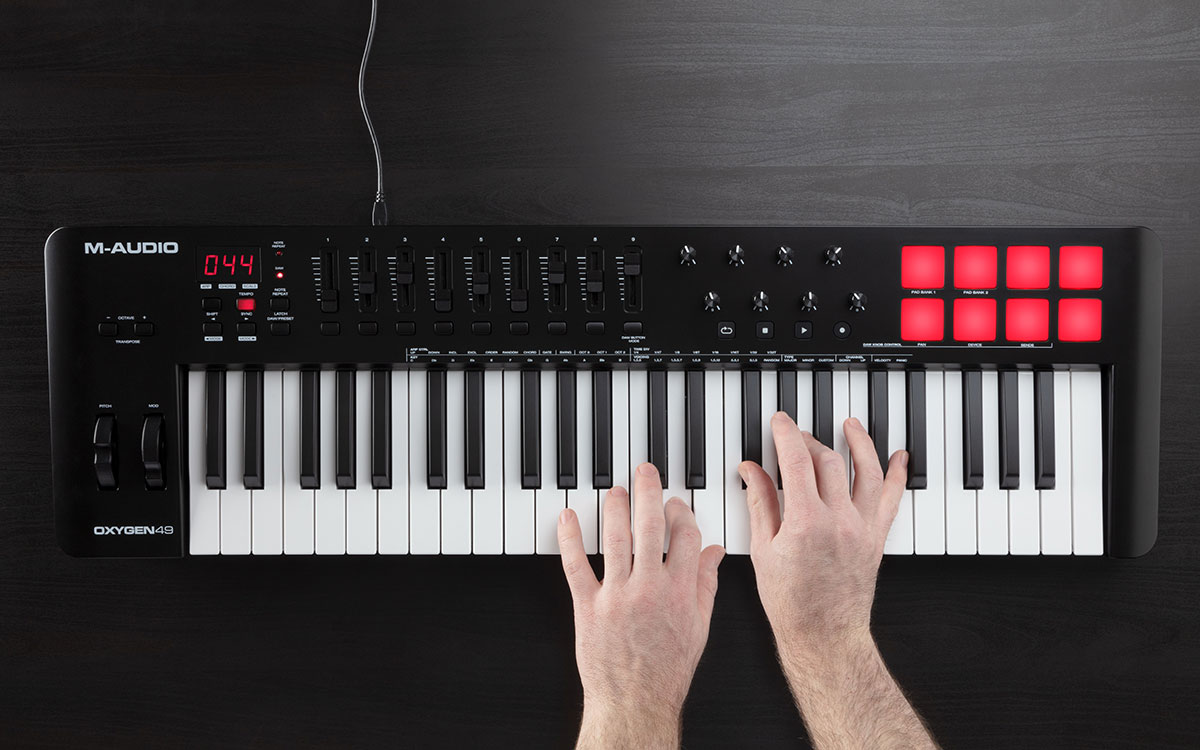
The number of keys or pads you choose depends on your space and workflow. A compact 25-key model is highly portable and fine for classroom or dorm setups, while a 49- or 61-key controller gives you more range if you’re composing complex arrangements. Portability versus flexibility is the trade-off here.
Beyond the basics, most controllers also include knobs, faders, and pitch/mod wheels. These let you tweak filters, adjust levels, or automate parameters in real time, which can make the creative process more engaging and help performances feel more natural.
The good news is that basic controllers are pretty affordable, and with so many producers upgrading their setups, there are plenty of second-hand bargains around. Just make sure to check compatibility with your operating system and DAW before buying, as older controllers may not always be supported.
6. Headphones
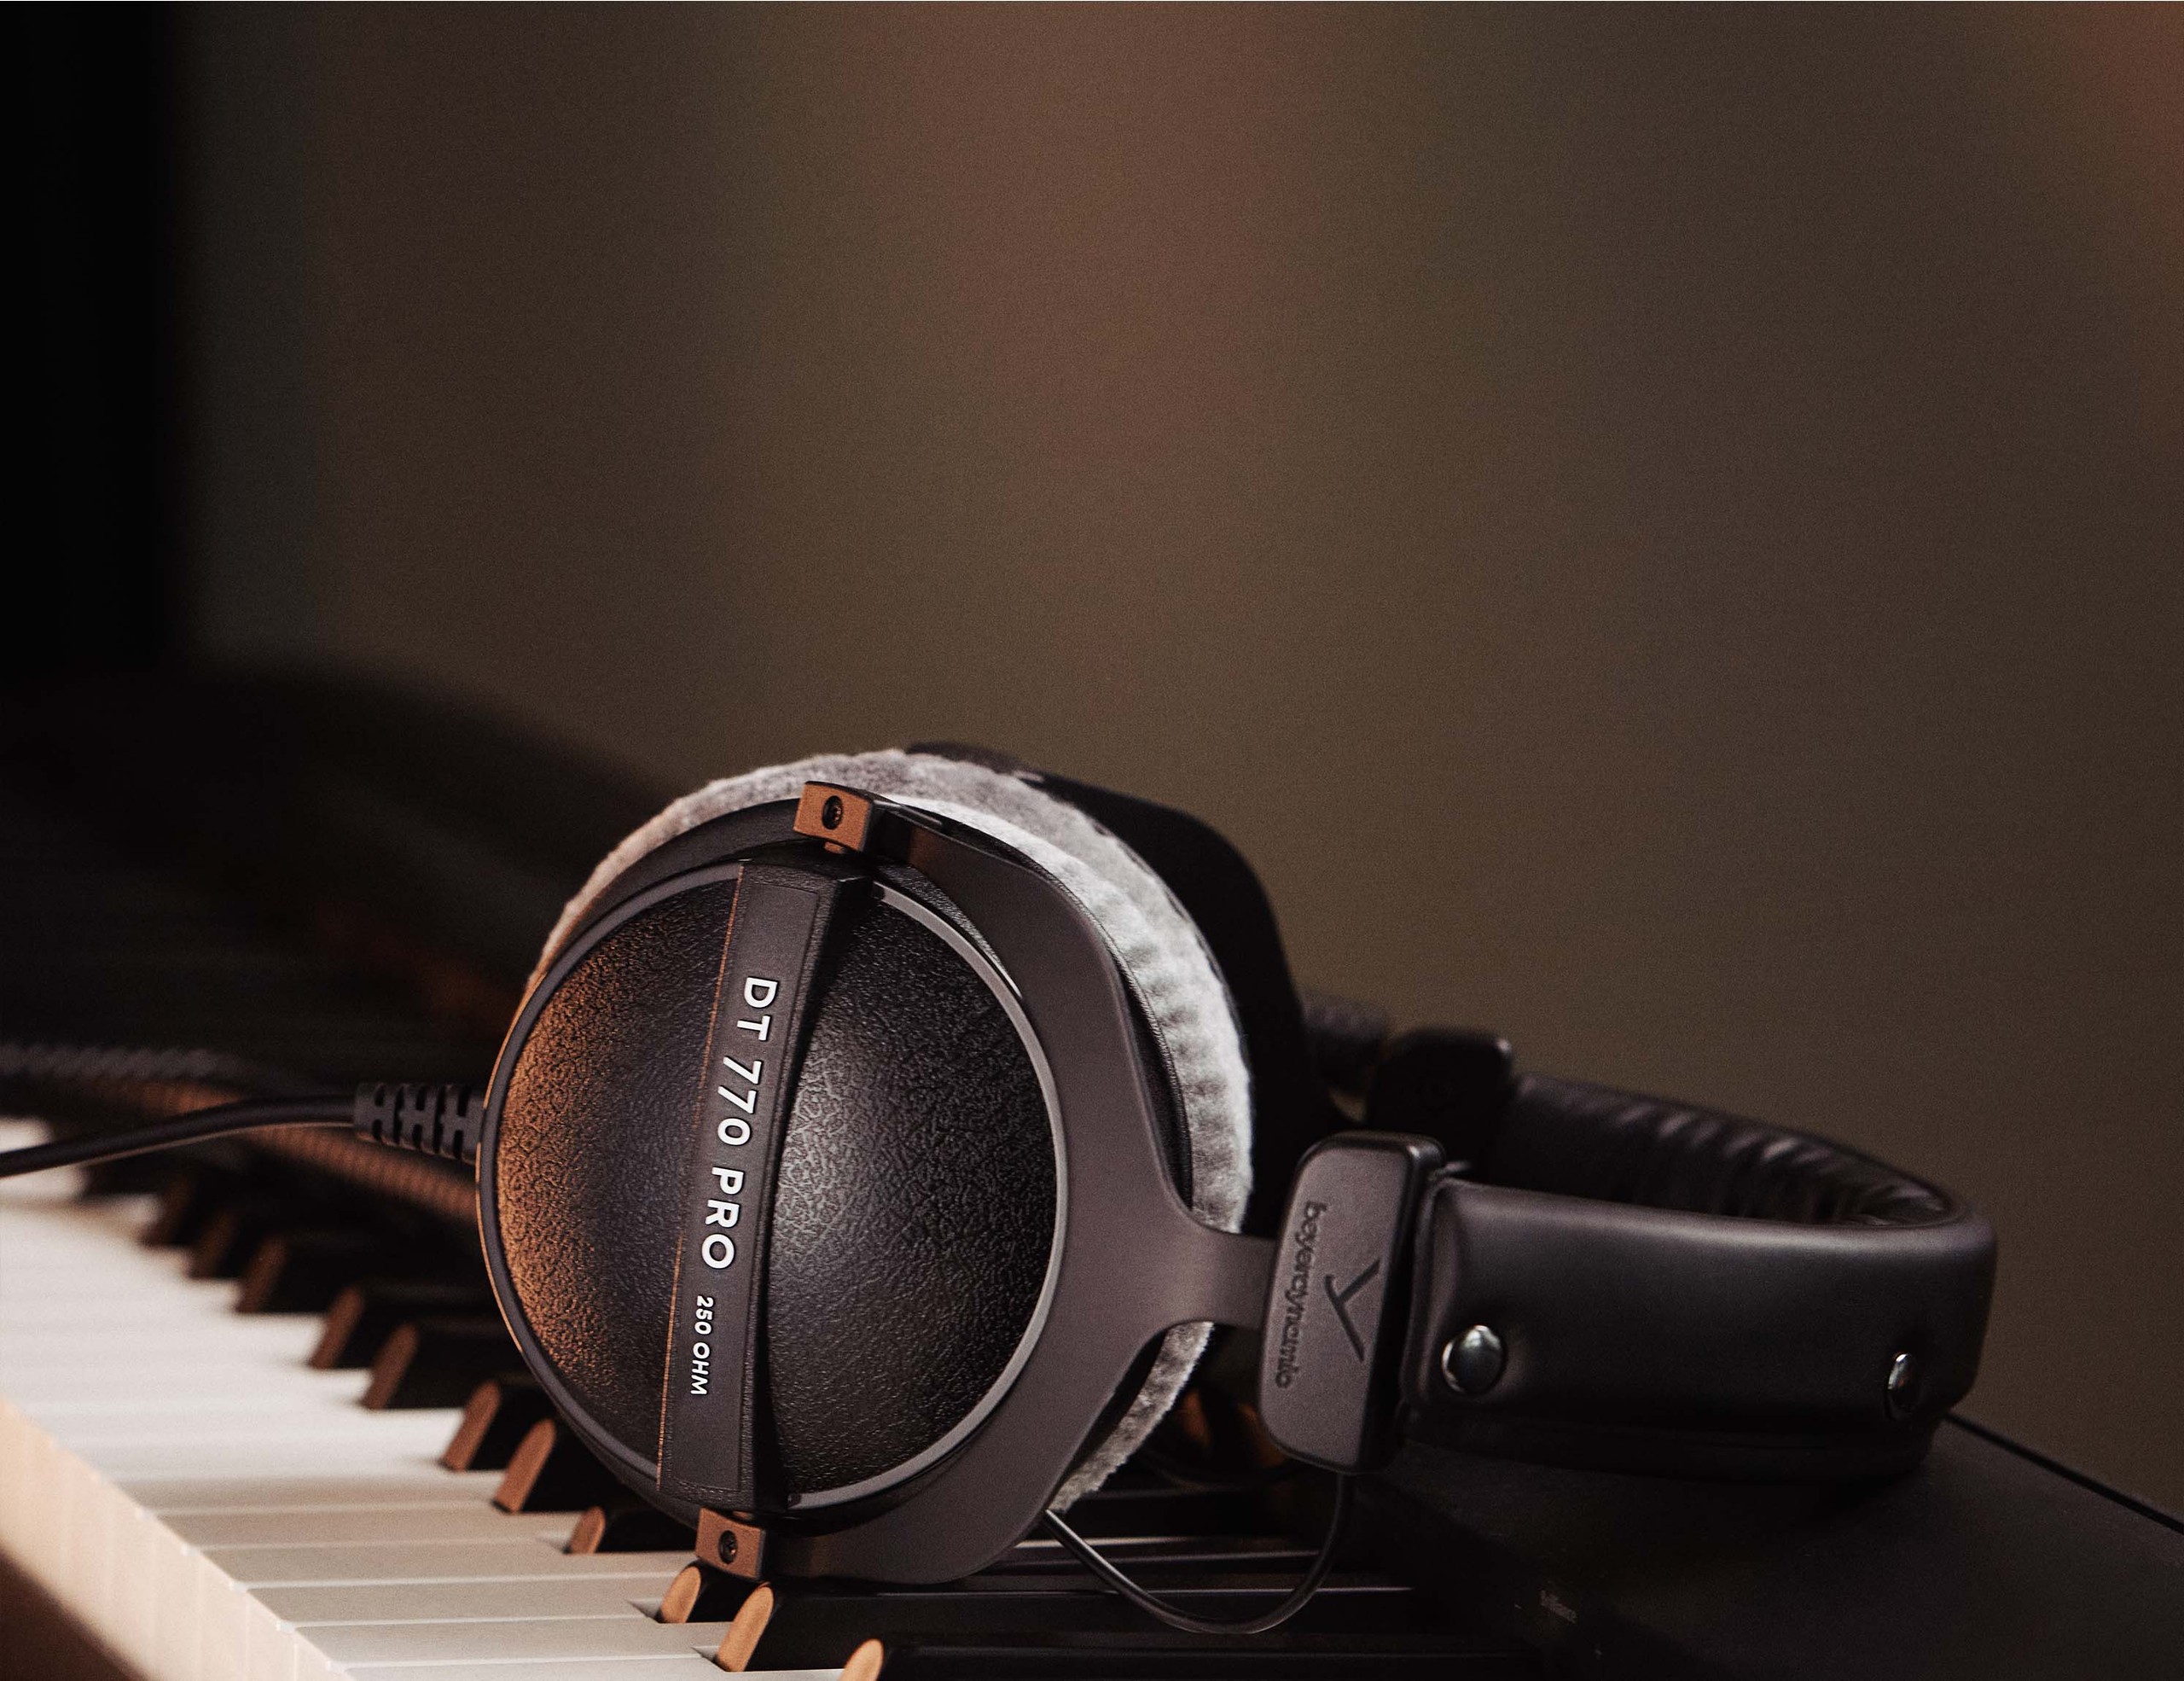
You should have everything you need now to create and mix your music. You’ll just need a reliable way to listen back to your productions. Traditionally, this is usually done with dedicated studio monitors. However, for many students, this isn’t practical. Living in shared accommodation means limited space and thin walls. Cranking your latest Dubstep creation at 2am might work for you, but your housemates with early lectures won’t thank you for it.
For this reason, a solid pair of studio-grade headphones is often the best solution. They allow you to work anytime without disturbing others and, unlike speakers, they’re not affected by your rooms acoustics. The key is to really get to know your headphones: listen to your favourite albums through them so you understand how these tracks translate. This way, when you’re mixing your own music, you’ll have trained your ears to a familiar reference point.
One important tip is to avoid headphones that artificially boost the sound, especially in the bass. While this may be fun for casual listening, it can trick you into under-mixing low frequencies. Studio headphones aim for a flatter, more accurate frequency response so that your mixes translate better to other systems.
If you do want to check your work on studio monitors, you’ll likely have access to treated studios and playback systems as part of your course. This gives you the chance to cross-reference your mixes in an environment designed for critical listening.
7. Storage
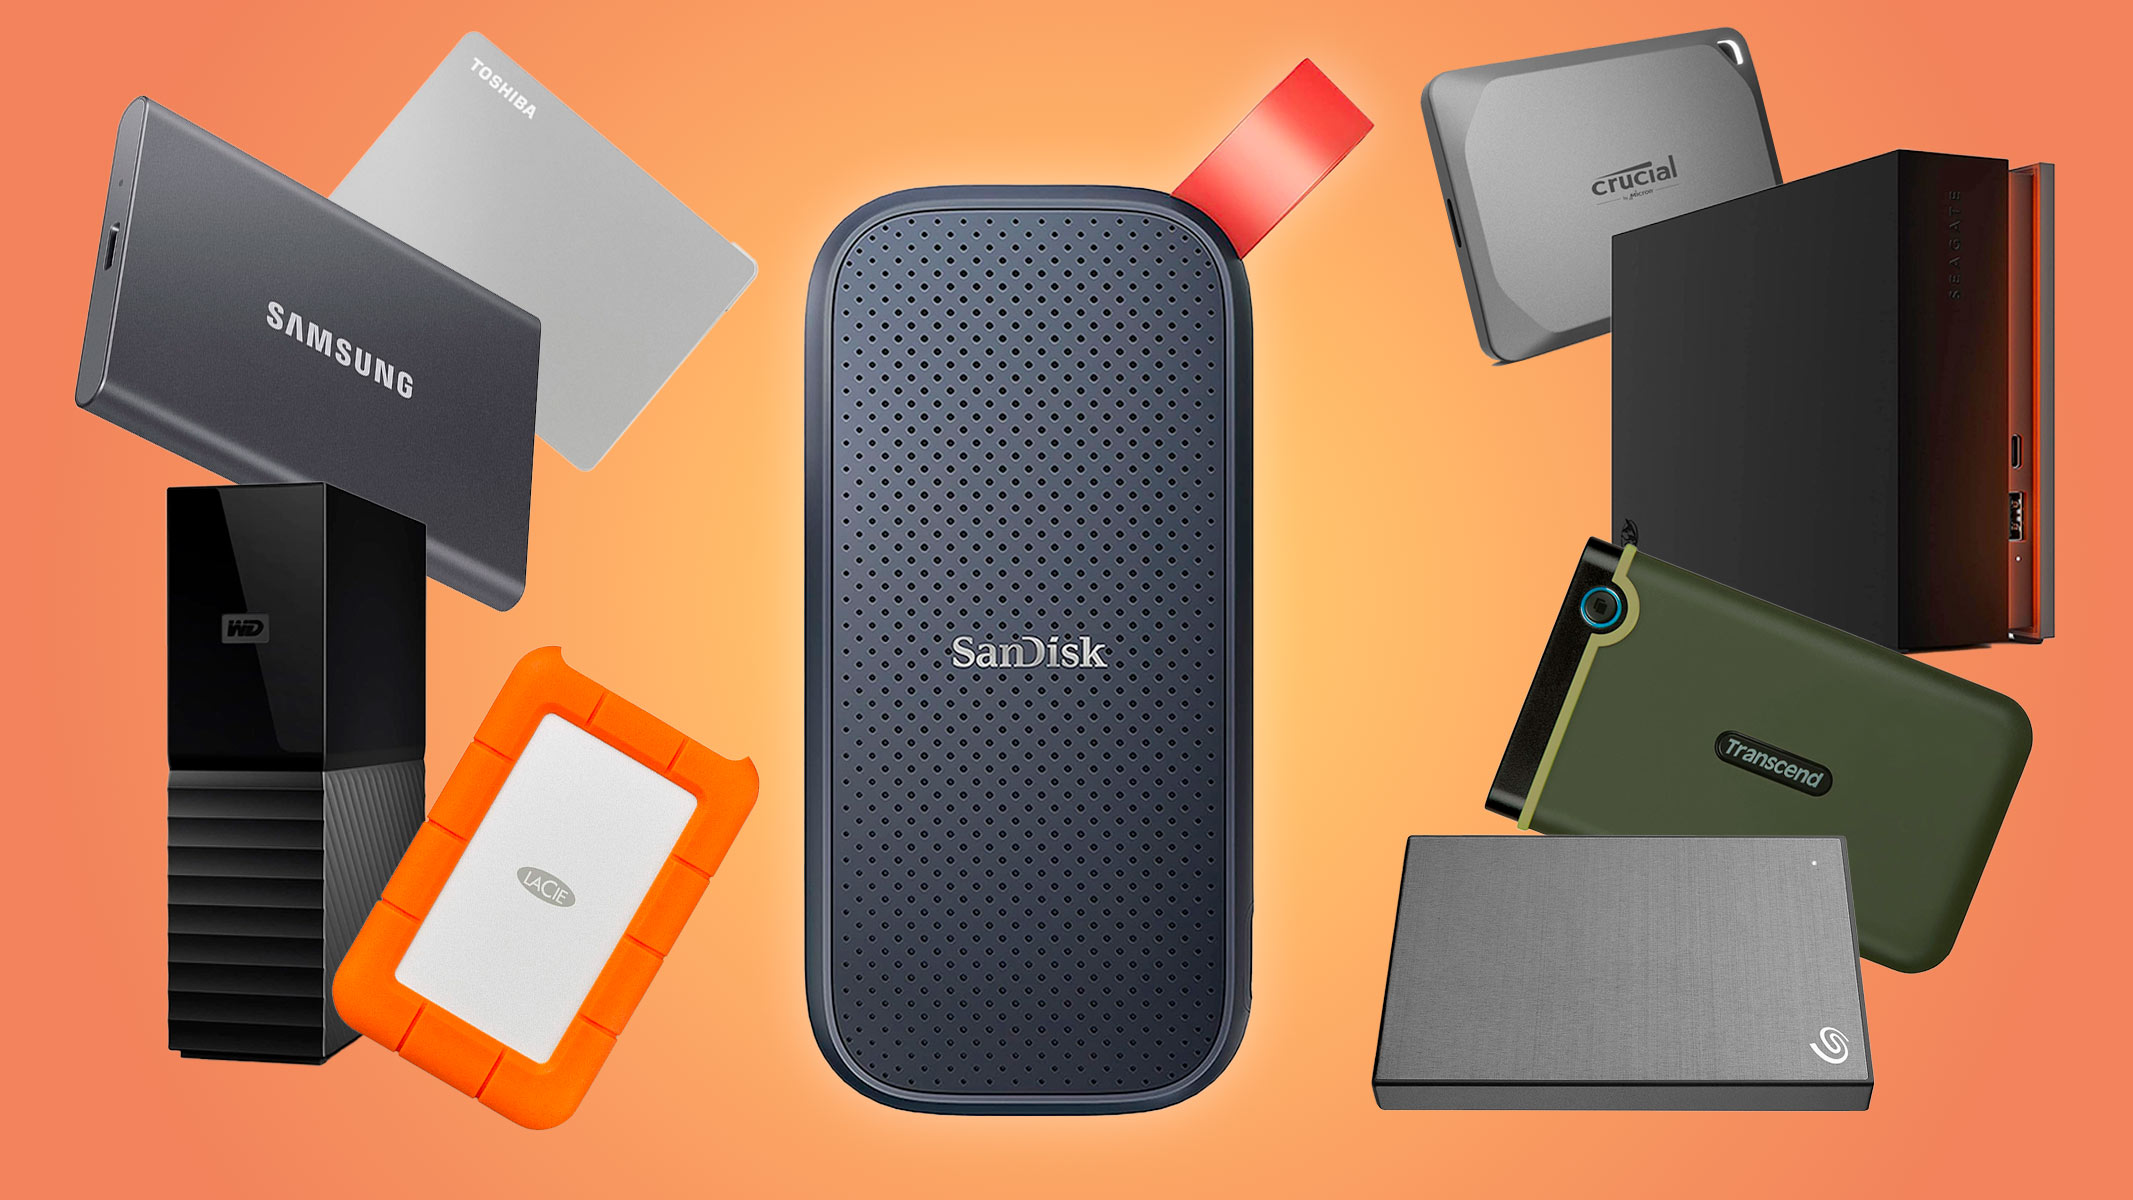
Finally, you’ll need somewhere reliable to store and back up all your work. While your computer’s internal drive will hold your projects day-to-day, it’s always a good idea to have at least one (ideally two) external drives. These can be used to back up sessions, store large sample libraries, or even create a full system image. On a Mac, for example, Time Machine can automatically back up your entire system an invaluable safety net if your computer fails, gets corrupted, or needs to be replaced.
When it comes to external drives, you’ll typically be choosing between two types:
- Solid State Drives (SSD): Fast, durable, and less prone to failure. Perfect for running large sample libraries or working on projects directly from the drive. The downside is they’re more expensive per gigabyte.
- Hard Disk Drives (HDD): Cheaper and available in larger capacities, making them a great option for regular backups and long-term storage. They’re slower and more fragile, but fine if you’re only using them occasionally.
For the best of both worlds, many producers keep one of each an SSD for active projects and sample libraries, and an HDD for periodic backups. In short: treat external storage as insurance. The last thing you want is to lose weeks of work to a corrupted drive the night before your final project is due.