
How to Turn a Purchased Beat into a Radio-Ready Track
Independent artists now have access to purchase hundreds of thousands of beats and backing tracks online, making it much easier to create high-quality tracks. While purchasing your beat is a great place to start, it’s only part of the way there to make it sound polished and professional. To stand out from the crowd, get radio plays or be featured on the top streaming platform playlists, you must ensure you’ve been through the proper processes and procedures for recording, mixing and mastering.
Lets run you, step-by-step, through the ways you can take your purchased beat, and transform it into a radio-ready track that stands out.
Choose the right Beat
The beat you choose will create the foundation of your track. Before you write the lyrics or start recording, make sure you’re chosen an instrumental that fits the vibe and brand you’re going for, but also one that compliments your style and vocal range.

- Genre Considerations: For producers, an EDM synth loop is unlikely to work when trying to produce a Trap track, and for artists a Trap beat might not fit their smooth R&B vocal style. Choose sounds that align with your style.
- Understanding Licensing Terms: Be clear on whether you’re purchasing a lease (limited rights) or exclusive rights (full ownership). Leased beats may have restrictions on streams, sales, and monetisation.
- Pay Attention to Quality: Avoid played out clichés, overused or low-quality sounds that weaken your music. Not all beats are mixed and mastered properly. Look for beats that are already mixed well
💡 Pro Tip: If you plan to release your song commercially, invest in high-quality WAV files for better sound quality and mixing control. RouteNote Create will definitely have what you’re looking for!
Customise the Beat
The difficulty with purchasing beats is that if you use it ‘out of the box’ you have to abide by the structure the producer made. You might be fine with this, but if you’re not you might want to make adjustments that fit your song better.
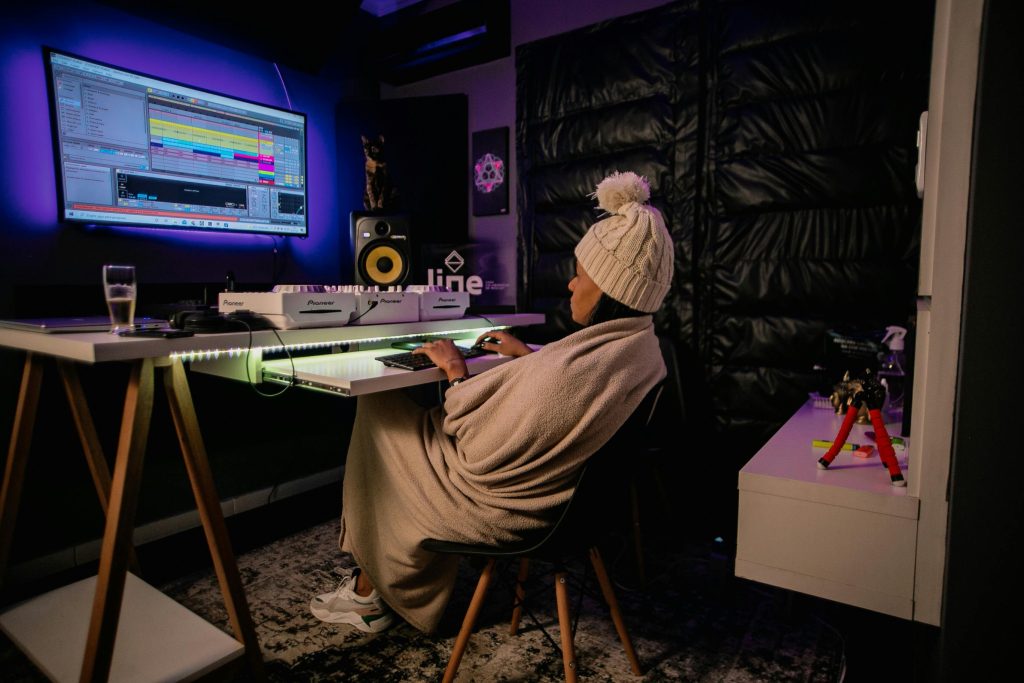
- Rearranging Sections: The world is your oyster! You can extend or shorten intros or breakdowns, repeat sections, change the hook – All of these have an impact on how your song will flow.
- Adding Additional Elements: Add your own instruments, effects and transitions, adding your own influences and put your stamp on the track.
- Working with a Producer: If you’re not comfortable making changes yourself, a producer or engineer can tailor the beat to your needs.
💡 Pro Tip: Use a stem separator, and use the stems to adjust individual elements like drums, bass, and melodies for better vocal integration.
Record high-quality vocals
The quality of the beat you choose won’t matter if you’ve poorly recorded your vocals. Making sure you spend time making this as polished as you can is crucial to making your finished product radio-ready.

- Set Up a Proper Recording Space: Make sure the space you’re recording your vocal takes in is fit for purpose. Acoustic treatment or isolation shields spring to mind.
- Use the Right Microphone & Equipment: A condenser microphone with an audio interface will give you clear and professional vocal recordings.
- Focus on Vocal Delivery & Performance: Make sure you don’t settle. Use multiple takes and comp them together to make the perfect single take.
💡 Pro Tip: Record in 24-bit WAV format for better audio quality and easier processing during mixing.
Mixing your vocal with the beat
It’s essential to mix your track well so that the vocal cuts through and isn’t drowned or buried by the beat:
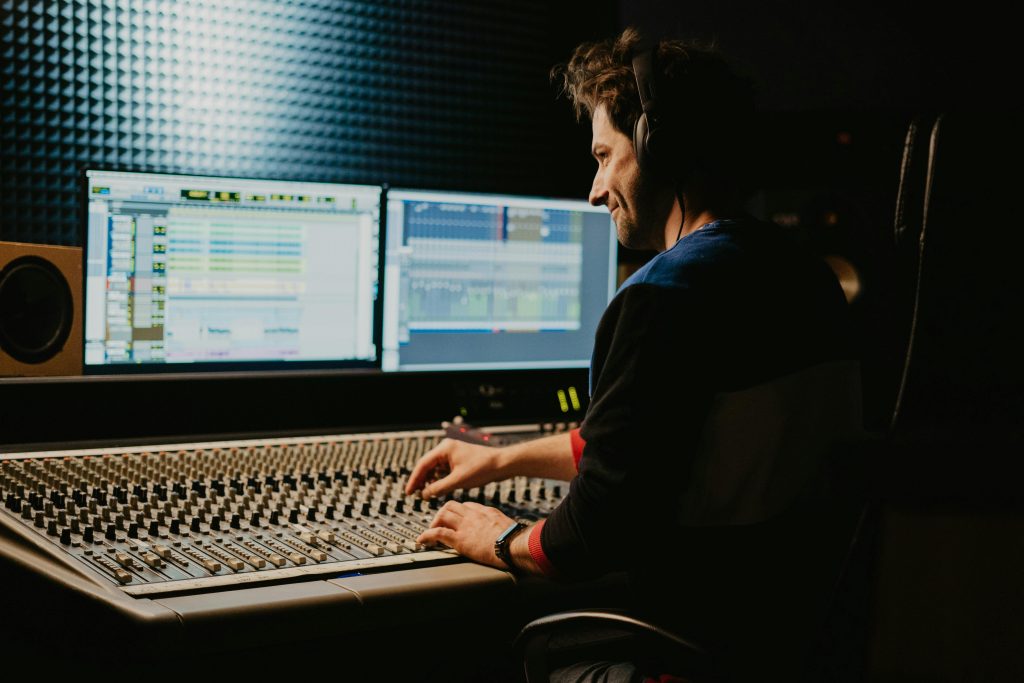
- Reference Professional Tracks: Compare your mix to industry standard tracks in the same key and genre. This can help you make informed decisions on critical EQ & dynamics tasks.
- Balancing Volume Levels: Make sure to adjust the volume of your beat and vocal to ensure a cohesive blend.
- Using EQ to Enhance Clarity: Use dynamic EQ to make space in your backing track for your vocal. EQ an also be used for surgically to remove unwanted/problem frequencies and for tone shaping.
- Applying Compression for Consistency: Give yourself control over fluctuations in your vocal performance, ensuring they remain clear and steady throughout the track.
- Adding Effects: Subtle effects like reverbs and delays can depth and dimension to your performance – don’t overuse or you’ll be a risk of making your mix muddy and cluttered.
💡 Pro Tip: If mixing feels overwhelming, consider using a professional mix engineer or AI tools.
Mastering for professional sound
Mastering is the final step in the music production process, ensuring that your track meets industry standards on loudness and will translate well to different playback systems.

- Set the Right Loudness Levels: Streaming platforms have loudness normalization, so your track should be around -14 LUFS (Spotify, Apple Music) and -9 to -10 LUFS for radio & clubs to prevent distortion or loss of punch. Use a LUFS meter (iZotope Insight, Youlean Loudness Meter) to check your track’s levels.
- Use EQ for Final Tonal Balance: Cut unwanted low-end rumble (below 30Hz) to prevent muddiness. Slightly boost high frequencies (8kHz–15kHz) for added clarity and sparkle. Ensure midrange clarity (500Hz–2kHz) so vocals and melodies remain strong.
- Multiband Compression for a Cohesive Sound: Use light multiband compression to balance different frequency ranges.
- Enhance Stereo Width: Subtle stereo widening can make your track feel bigger, but keep bass frequencies mono for a solid low-end foundation. Use tools like Ozone Imager or Waves S1 Stereo Imager to expand high-end frequencies.
- Add Limiting for Competitive Loudness: A limiter ensures your track doesn’t clip while keeping it competitively loud. Set the ceiling to -0.1dB or -0.3dB to avoid distortion. Adjust threshold & gain to push loudness without squashing dynamics.
- Test Across Multiple Devices: Listen on different systems: Studio monitors, headphones, car speakers, phone speakers, and club sound systems. If any part sounds off (too bass-heavy, too quiet, etc.), tweak accordingly.
💡 Pro Tip: If mastering feels overwhelming, consider using a professional mastering engineer or AI mastering tools
Final quality control
Before you release your track, conduct a final listening session to catch any issues:

- ✔️ Are the vocals clear and well-balanced?
- ✔️ Does the song sound good on different speakers/headphones?
- ✔️ Are there any unwanted noises or distortions?
Ask for feedback from producers, engineers, or trusted listeners, and make necessary tweaks before finalizing your track.
Distributing & promoting your track
Once your song is ready, it’s time to distribute and promote it:
- Upload to Streaming Platforms: Use a music distributor such as RouteNote to get your song on Spotify, Apple Music, and more.
- Ensure Metadata & Cover Art are Professional and Meet Guidelines: A well-designed cover artwork will grab attention and good way to set the lister up from your brand of music. Ensure that the artwork and metadata meet the guidelines before submitting
- Promote Through Social Media & Playlists: Submit your song to Spotify playlists, YouTube channels, and TikTok influencers to reach a wider audience.
Remember – RouteNote Create subscriptions start from as little as $2.99. You also get 10 FREE credits to spend on samples along with access to our FREE sample pack bundle when you sign-up!
You can also purchase full sample packs, beats and plugins without a subscription!