How to make your own wavetables
Understanding wavetables
Wavetable synthesis is the method of creating complex waveforms by storing, then cycling through a bunch of single-cycle waveforms, or frames, in a table. Each waveform could represent various textures, timbres and harmonic content. A wavetable synthesizer scans throuigh the frames, either in order (sequentially), or non-linerarly to output evolving, morphing sounds.
Each frame is a snapshot of a waveform at points in its cycle. If you cycle through the frames at different rates and directions, perhaps using automation or an LFO, you can create a whole range of different sounds from simple plucks to complex evolving pads with loads of movement.
The expressiveness and versatility of wavetable synthesis allows sound designers and musicians to create expressive and continuously modulating sounds quite easily with a little know-how!
Tools for wavetable creation
Software options for creating custom wavetables
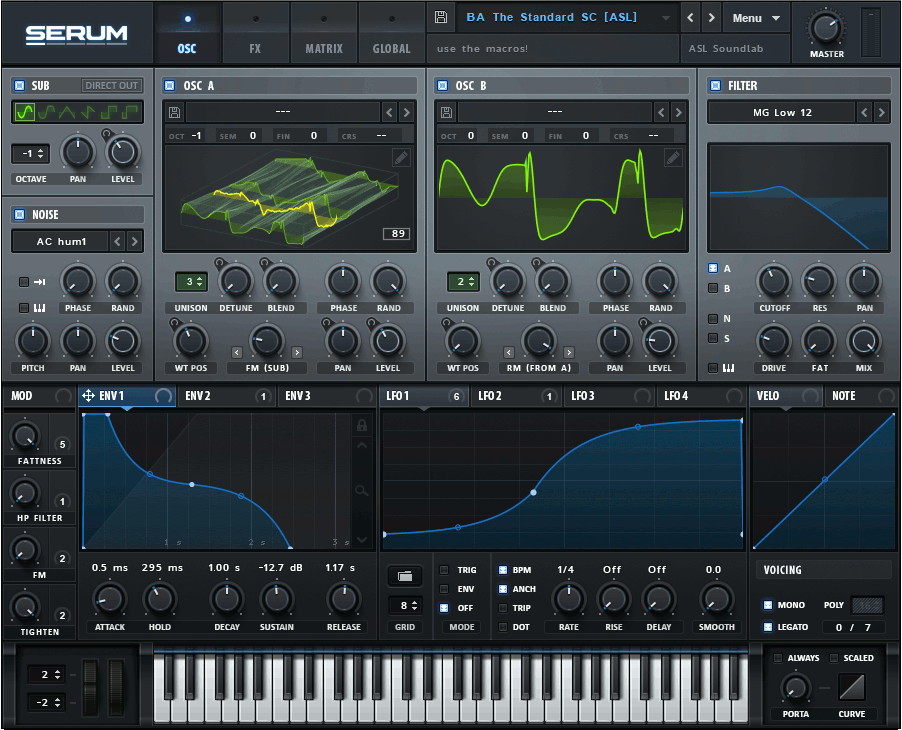
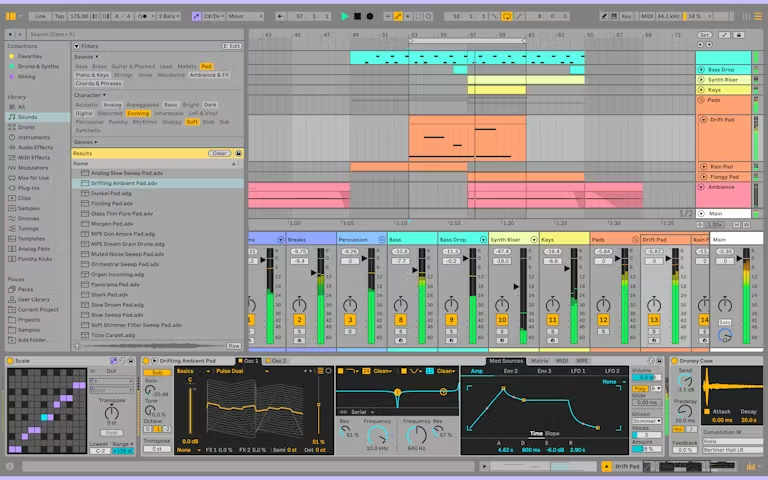
Software wavetable synthesizers tend to offer a built-in wavetable editor and/or creation features that enable you to design your own custom wavetables from scratch, or to modify existing wavetables. Examples include:
- Serum by Xfer Records
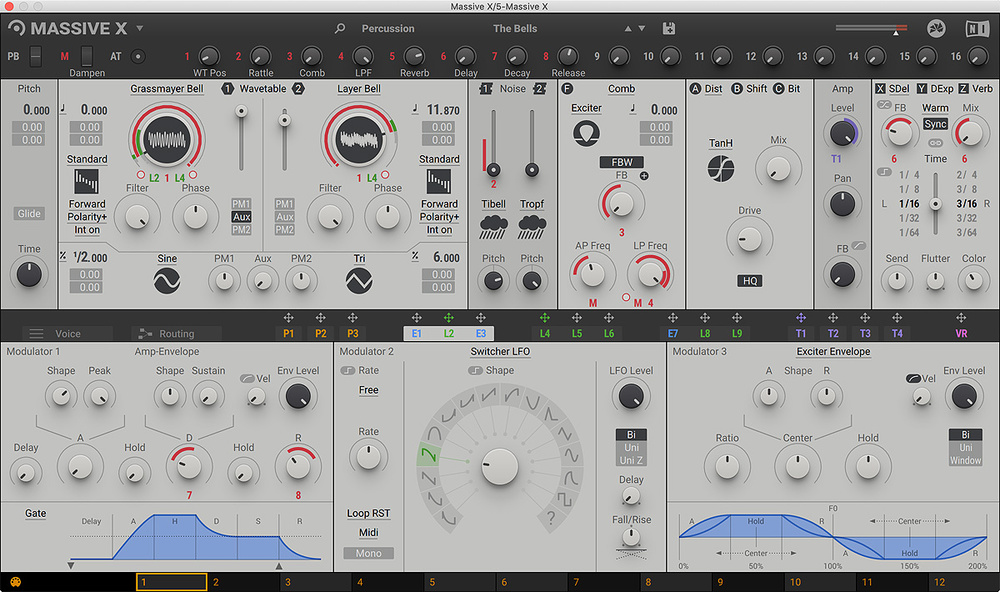
- Massive X by Native Instruments
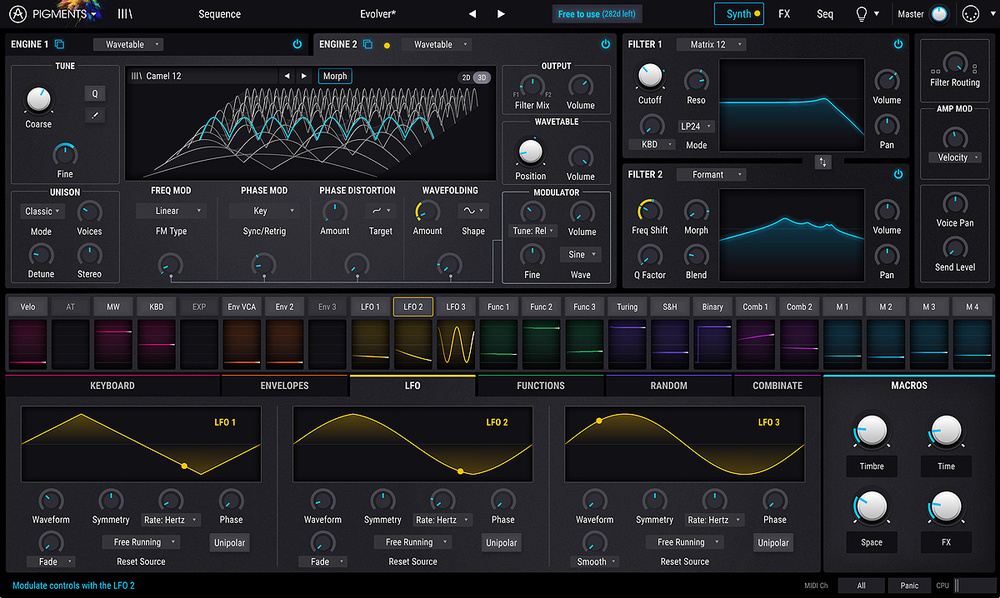
- Pigments by Arturia
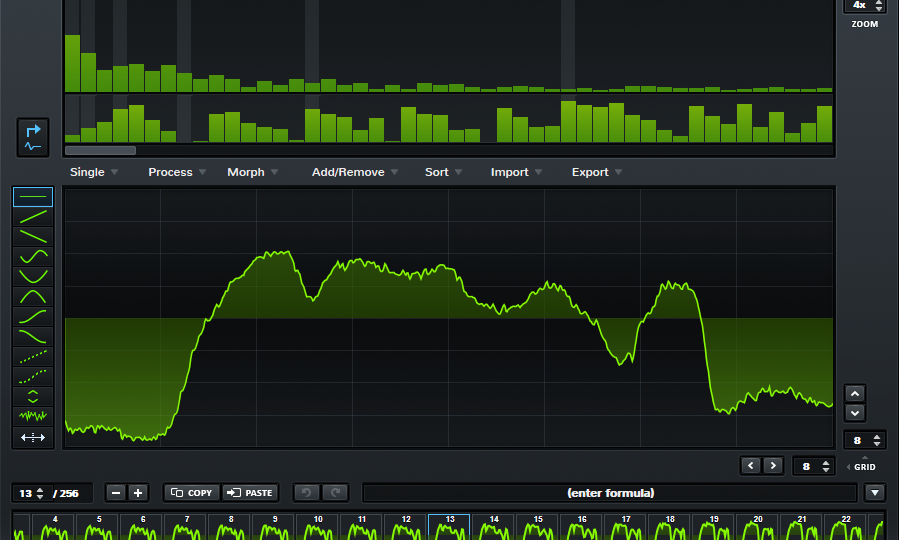
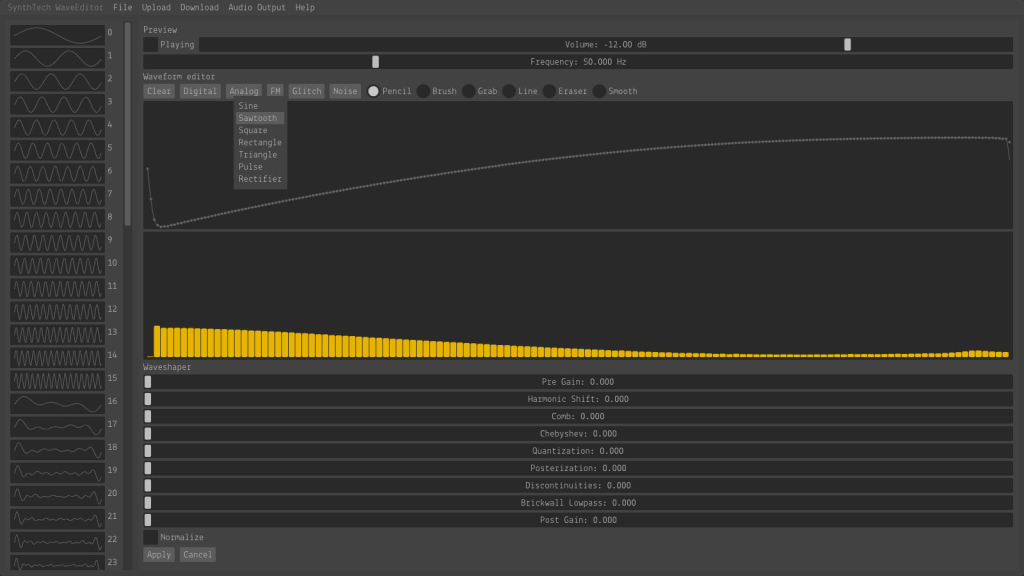
Wavetable editors are standalone pieces of software that focus specifically on the creation and editing of wavetables, some of which contain more in depth control and customisation options.Examples include:
- WaveEdit by Synthesis Technology
Sample manupulation software and DAWs can also provide features for manipulating audio samples that can be used in the creation of custom wavetables by resampling, slicing and processing audio. Examples include:


Hardware synthesizers with wavetable editing capabilities
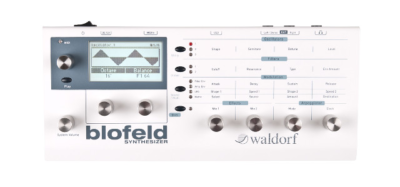
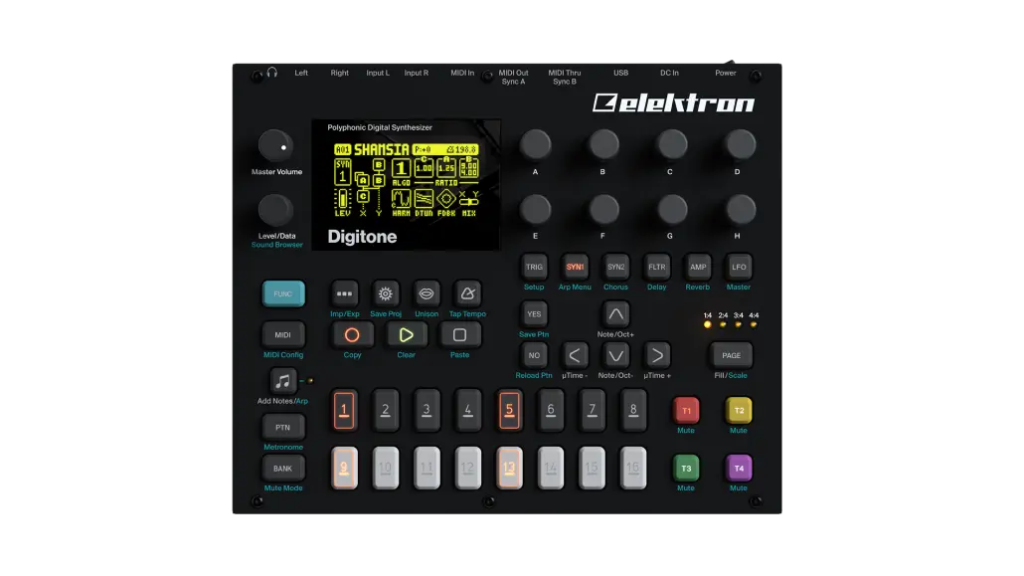
Some digital hardware synthesizers contain wavetable synthesis engines with onboard wavetable editors. Examples include:
Considerations for selecting tools based on your budget, workflow, and desried features
Budget:
How much have you got to spend? What’s the cost of a hardware synth or software synth in relation to your budget? Are there any free trials, or free versions of the software with a few less features? All of these questions are worth asking yourself before making a decision on the right tools for you.
Workflow:
How does the tool you’re thinking of obtaining fit into your current way of working? Does the interface or form-factor align with your preferences? Do you need additional gear to ensure your choice works well in your setup?
Desired features:
What are you looking for your gear to do? Make sure your choice aligns with what you want to achieve, or you’ll be sorely disappointed!
Expandability and updates:
Does your choice allow you to expand and/or update in the future? This will give some good fututreproofing, and the ability to upgrade when you save up some more budget!
How to design custom wavetables
Overview of the wavetable creation process
Selecting the initial waveforms is a crucial first step in the process as it is likely to define the timbre of the wavetable – you could choose from simple analogue waveforms such as sines, triangles, saws and squares, you might opt for more harmonically rich waveforms, or even recorded audio samples.
Creating variations of the original waveform is super important – as these will make up your frames – think about utilising options such as frequency, amplitude, phase, and waveshape modulation. You could even get inventive with filtering and distortion.
Organise your generated waveforms into frames in your wavetable editor of choice, in either a sequential or non-linear order. It’s important to consider how the table progresses, the morphing algorithm used to to morph between your frames, along with the overall tonal balance.
Fine-tuning the waveform parameters is imperative at this stage. Adjust your crossfades between frames to eliminate atifacting when scanning through your new wavetable.
Testing the wavetable in the context of it’s desired application is important, as exploring its sonic potential can give you insights and idea into how to iterate on the design your your wavetable to achieve more desirable results.
Techniques and ideas for generating your initial waveforms from scratch
Try additive synthesis to sum together multiple sine wave at varying frequencies and amplitudes. By carefully paying attention to the fine adjustment of each harmonic you can precisely control the resulting waveforms harmonic content and timbre.
By using granular synthesis you could create complex and highly detailed evolving textures and timbres by breaking down samples into grains and maniplutaing them in real-time.
Sample-based synthesis involves extracting waveforms from recorded audio samples to use them as the basis for your wavetable. Try experimenting with different timbres, natural sounds, acoutic instruments or foley/field recordings to get truly unique results.
Tips for capturing and importing external audio sources as wavetables
Make sure your original sample selection is interesting and of a high quality, your starting off on the right foot!
Pre-processing your samples by cleaning them up with de-noisers and normalisers will ensure constistent levels and clean sound from the start.
Slicing, dicing and choosing your audio into smaller segments or waveforms in your audio editor of choice will make it easier when arranging and manipulating them in your wavetable editor.
Time stretching and pitch shifting your source samples allows you to increse or decrease their duration and pitch whilst maintaining their tonal qualities.
Get creative with your processing… chuck your effects plugins at your source sounds and see what wacky and unexpected results come out!
Organise and manage your wavetables
Strategies for organising and categorising wavetables for efficient workflow
Create folders and subfolders for different categories of wavetable. You could have folders for types of instrument (bass, pluck, lead, pad), synthesis method (additive, spectral, granular), sonic charatceristics or timbre (atmospheric, metallic, glassy), mood (happy, spooky, chilled), and genre (EDM, Techno, Hip-Hop).
By developing a custom naming convention for each wavetable file and sticking to it, it will enable you to quickly identify the relevant information you need when making quick snap decisions in your music production sessions. Making this as easy as possible for yourself early on will allow you stay in a flow state rather than endlessly auditioning wavetables until you find the right one.
Tips for naming and labeling wavetables to quickly identify their sonic characteristics
Using descriptive names that convey the sonic characteristic of your wavetable helps. Some examples would be “morphing sad pad”, “plucky bright lead”, or “rubber ball bass”. You can even make sure to start using abbreviations to make it even quicker. Some examples here might be “FM” for frequency modulation, or “AS” for additive synthesis.
Utilizing preset management systems and tagging systems to streamline wavetable selection
Making some favorites folders and user banks in your wavetable synthesizers prerste browser will provide you with quick access to your go-to wavetables in the midst of a music production session.
Tagging systems within the synthesizers preset management browser will help you to categorize and and organise your wavetables based on various attributes such as tibre, intrument type or genre. Once you’ve done this, searching and filtering your wavetables in the preset browser should be a breeze!
Remember – RouteNote Create subscriptions start from as little as $2.99. You also get 10 FREE credits to spend on samples along with access to our FREE sample pack bundle when you sign-up