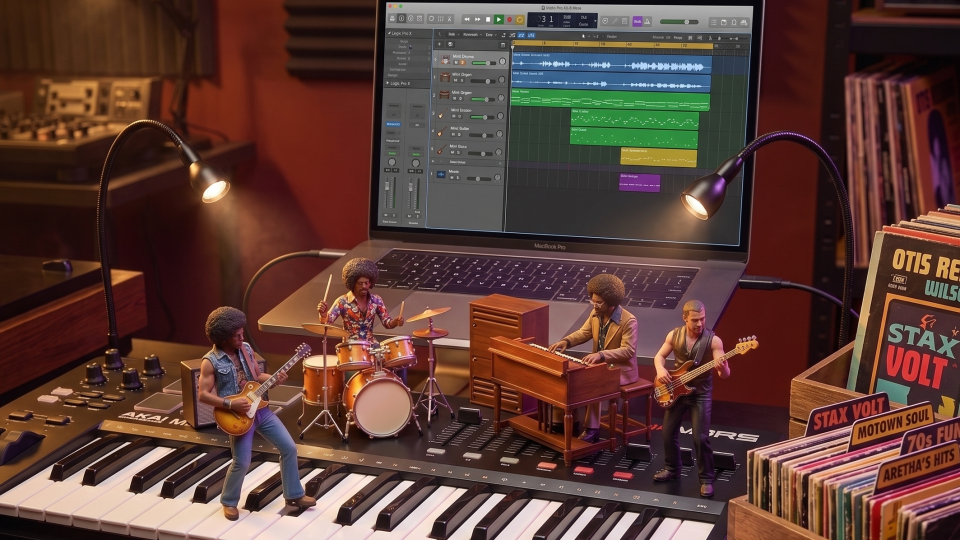
How to make an interpolation of a Sample
In the previous post, we explored what interpolation is in the context of music production. We learnt how it differs from sampling, and why it has become such a valuable creative technique in its own right. And while sampling may be an easier and more direct route, interpolations offer many distinct advantages of their own.
In this guide, we’ll take you through the entire process of creating your own interpolation. From initial analysis all the way through to the final export process.
What type of interpolation are you aiming to create?
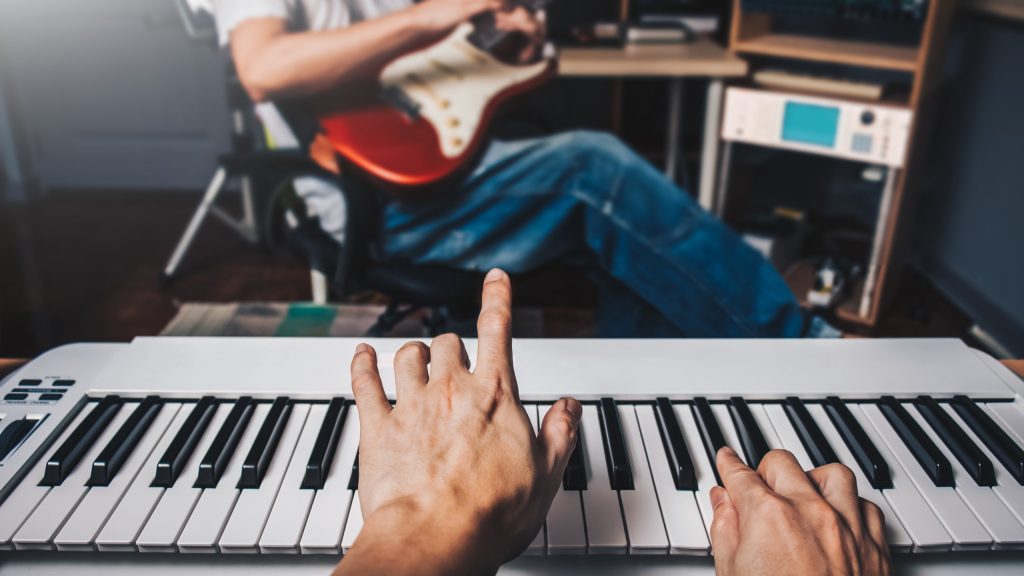
Creating a convincing interpolation can be challenging, but with today’s recording technology and virtual instruments it’s often possible to get remarkably close to the original. Before you begin, it’s worth deciding exactly what kind of interpolation you want to create. Are you recreating an entire arrangement? This is often referred to as a structural interpolation. Alternatively, you may only be recreating a specific musical element such as a melody, chord progression, bassline or vocal phrase. this is commonly known as a melodic interpolation.
It’s also important to decide whether your goal is to faithfully recreate the original recording or simply borrow the underlying musical idea. If you only intend to use a memorable melody or riff, this is a much easier process as you’re free to reinterpret it using your own instrumentation and production style. However, if you’re aiming to emulate the sound and feel of the original recording, the task becomes considerably more demanding.
Considering the scale of the challenge
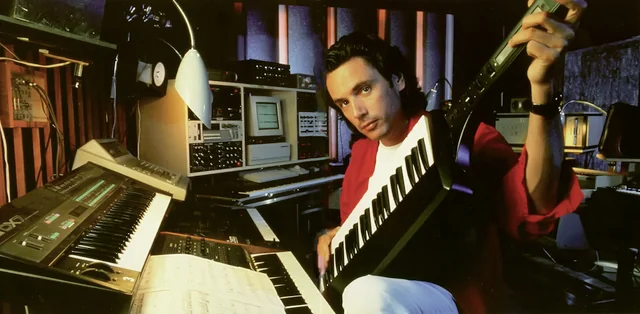
As a general rule, recordings from the 1980s onwards are often easier to recreate. Many rely on digital synthesizers, drum machines and production techniques that remain common today. Accurately modelled examples of iconic original instruments from this era, particularly synths are readily available. The sound of 80’s and 90’s recordings are also cleaner and more detailed, much like the sounds easily obtained from modern DAWs.
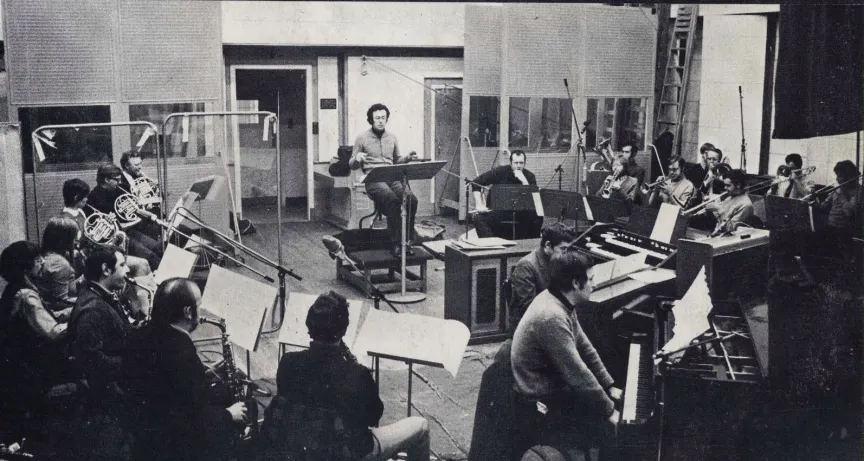
Things become more challenging when recreating earlier recordings such as those from the 1960s and 1970s. Music from this era was typically performed by live musicians and recorded using vintage mic’s, outboard gear, analogue consoles and tape machines. This gives these tracks a warmth and character that is difficult to reproduce – but not impossible.
Although instruments such as electric pianos, organs and bass guitars can usually be recreated convincingly, brass sections, orchestral parts and expressive guitar performances often require much more work. Modern virtual instruments can sound too clean and perfect, so producers often use saturation, tape emulation and other processing techniques to introduce the imperfections associated with vintage recordings. Equally important is the performance itself. The subtle timing changes, dynamics and articulations of real musicians are often what make an interpolation feel authentic rather than programmed.
With that in mind, let’s walk through the process of creating a convincing interpolation, from analysing the original recording to recreating its sound, performance and overall character.
Step-by-step guide to creating your own interpolation
1. Analyse the original source
It is vitally important to understand all of the elements that have gone into the part you are about to interpolate. Use a stem separator tool to split the original source into its separate components. If required consider using a separator tool that features multiple targeted element separation. Having isolated stems will make detailed analysis much easier
2. Identify and list the instruments
The next step is to try to identify all of the instruments involved in the recording. This isn’t as simple as ‘features electric guitar’. You have to identify the type of guitar, amp and any effects used. The same goes for all of the instruments, including what individual instruments were being played in any brass or orchestral section. Sometimes if you are attempting to interpolate a high profile song you may be able to research the exact instruments used in the recording, such as a particular keyboard instrument, guitar or drum kit. Details were sometimes made available in the liner notes of an LP. Alternatively, AI is a fantastic tool for obtaining this type of information.
3. Consider how best to replay the parts
Firstly work out which instruments from the original source track you can accurately match with virtual or real instruments that you might possess. If its an essential instrument such as guitar that will be hard for you to replicate yourself consider hiring a session musician. As it may only be a short passage of music to recreate this may not be a huge investment. Sites such as Fiverr and Soundbetter are perfect for finding a musician.
4. Use Audio to MIDI
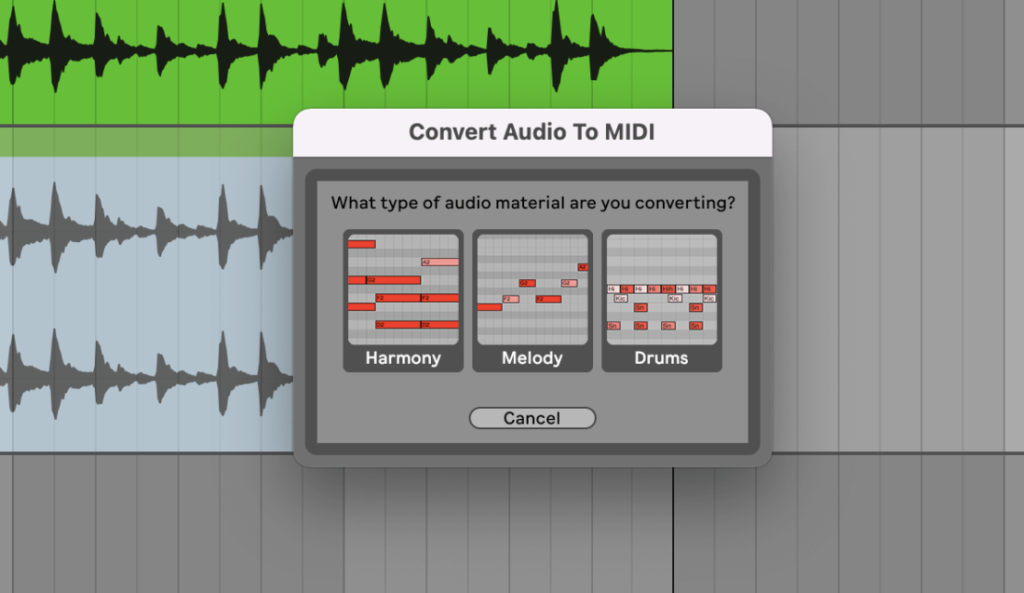
If you’re not a skilled musician or keyboardist there are handy tools available that convert audio into midi parts. This is best done on isolated stems as it is less for the software to process. These tools can be hit or miss so expect to have to do some tidying up. They should however put you in the right ball park and offer some clues as to the chords and melodies played. This technique works particularly well of bass guitar and drums.
5. Analyse the sonics and recording process
Once you’ve recreated all of the individual parts, the next step is to capture the overall character of the original recording. Listen carefully to the production rather than just the performance. Analyse the room sound and the reverb as well as the balance of instruments. Again, you may be able to search online for clues as to the original recording process and studio facilities. Once you have gained a feel for the recording look at the following audio processing techniques.
- Saturation: If you’re interpolating an older analogue recording, your first stop is saturation. Tape or valve saturation is best. Add a generous amount to each channel individually rather than relying on a single effect across the mix. Driving the saturation a little harder than you normally would can help recreate the harmonic colour and gentle compression associated with tape recordings. Vinyl emulators such as the free izotope Vinyl or Native instruments Abbey Road Vinyl are also very useful. Just avoid adding static to multiple channels. The static effect should only be applied to the master buss and never add reverb to the static effect.
- Ambience: Before the digital era, plate and spring reverbs were widely used, so experiment with these, along with tape echo if it features in the original recording. While many lo-fi producers deliberately add obvious pitch wobble to emulate worn vinyl or unstable tape machines, this effect is often exaggerated. Most vintage recordings were surprisingly stable, so it’s best avoided. That said, a tiny inaudible, amount of wow and flutter applied across multiple instruments can subtly reduce the pitch-perfect nature of modern virtual instruments. This can subliminally help the performance feel more natural.
- EQ: Finally, use EQ to shape each instrument so it sits closer to the tonal balance of the original recording. This may involve gently rolling off some of the extreme low and high frequencies to better reflect the limitations of vintage recording equipment. Some equalisers, such as FabFilter Pro-Q, even include EQ Match features that can analyse a reference recording and generate a similar tonal curve for your own tracks.
- Compression: This is your final stop. Rather than heavily compressing individual instruments use bus compression across grouped instruments. This gently “glues” the instruments together. The idea is to make everything feel as though it was captured through the same console and tape machine rather than as separate, pristine recordings. One of the biggest mistakes when chasing a vintage sound is over-compressing. Many classic recordings actually have more natural dynamics than modern productions. Skilled interpolators apply just enough compression to unify the performance, while allowing instruments to breathe naturally.
6. Balance, mix and export
When preparing the mix group certain instruments together in the way they may have been bounced down together to tape. Use the original as a guide to the levels of the separate instruments. Once you are happy with the balance of sounds its time to bounce it down. Some people even go to the lengths of recording the finished interpolation to analogue tape. This could be a cassette, reel to reel or even VHS tape.
At this stage it is also worth considering how you plan to use the interpolation within your track. Do you need the individual stems, grouped stems or just the stereo (or mono) master? You may want to integrate the interpolation directly into the session of the track you are intending it for. If so bare in mind how well powered your computer is as you may be using up considerable CPU with the virtual instruments and processing plugins.
Happy interpolating
Good luck in your endeavours to recreate and interpolate your samples. Don’t expect to nail it straight away. Creating convincing interpolations is a highly skilled job, especially when it comes to recapturing older more organic performances. And while a basic ability to play instruments such as guitar and keys is certainly an advantage, producing interpolations is as much about using your ears and analysing your original source. It may, therefore be worth starting out interpolating less ambitious samples and moving steadily towards more complex arrangements as you grow in confidence. Good luck in your adventures and don’t forget, if you decide traditional samplings the way forward for you we have an awesome catalogue of sounds. Plus its all royalty-free so no sample clearance concerns.
If you’d like to explore vintage production techniques using a DAW in more detail, check out our guide: How to create a vintage sound inside your DAW
If you would rather stick to sampling without the hassle of clearance we have you covered. RouteNote Create offers an awesome selection of royalty-free samples and beats for your next big project
Sign-up now and take your music to the next level