How to Make a White Noise Bass: 7 Steps to Make Epic Basses!
Synthesis friends, Mixxed is back again for another bass design tutorial. For more bassy goodness, check out our other bass tutorials!
7 Steps to Make Epic Basses!
White Noise Bass Tutorial
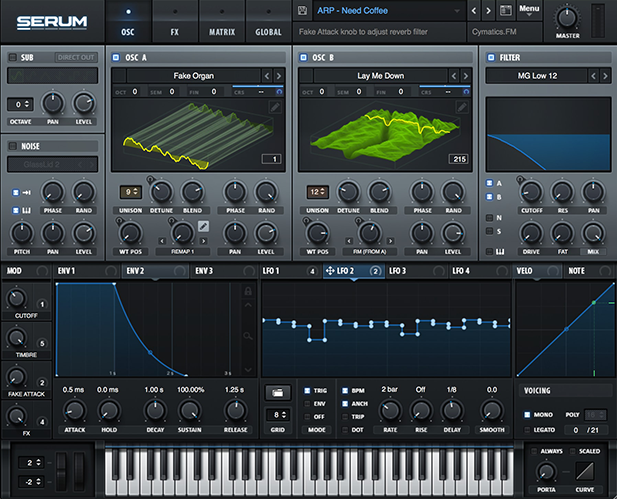
This tutorial corresponds to any wavetable synth, but we’re using Serum as our default.
Step 1: Load up your VST of choice, load up a basic shapes/sine wave oscillator and also turn on the noise oscillator. You can use any noise you like the most, but if you’re in Serum we recommend AC Hum.
Step 2: Now bring up your VSTs’ distortion & load the asymmetrical distortion preset. Set the drive to 50%.
Step 3: This step isn’t necessary at all, but you may like an LP filter to filter your noise oscillator. If you follow this step, we recommend a filter cut off around the 9600Hz mark. This will remove the harshness at the top of the noise.
Now you have the foundation of your sound. However, if you play around on your keyboard you’ll notice the timbre of your noise is better on some keys than others. This is why we recommend following the next steps for an even better result.
Before continuing, play or draw a handful of MIDI notes of your new fat noise patch. Play around, or stick them on E1 for a timbre that’s guaranteed to be pleasant.
Step 4: Below your distortion in the VST signal flow, load your EQ. Set the low-frequency q to 40% – 45% and set the low-end frequency to 3200Hz. Attenuate the high-end gain to -2.5dB. Now you’ve made room for a second instance of your VST.
Step 5: Load up another instance of your VST. For us, it’s Serum.

If you wanted to get creative & use an entirely different VST than your original, you can do that too. In your new VST oscillator, load up a square wave.
If you’re new to VSTs, you achieve this by loading up the basic shapes/sine wave oscillator again and moving the wavetable/WT Position knob to the right until it lands on a square wave.
Step 6: Now add distortion to your new VST plugin. It can be a distortion preset of your choice, but we recommend a soft clip for the best results!
Step 7: Route your second instance of your VST to a Mixer channel in your DAW & load an EQ to the channel. This will give you more dynamic control when compared to a stock VST EQ.
For a powerful bass experience, isolate 35Hz – 160Hz inside your EQ. You could be daring and raise the isolated frequencies to 260Hz, but we recommend not doing this unless you’re handy with sidechaining!
Now follow the notes you made with your noise patch… with your bass patch. The reason we have two separate patches is because we don’t want to be limited to a small number of notes that the noise timbre only sounds good on.
Therefore, you have all the freedom in the world for which notes you can paste or play your bass patch on. You just have to follow the notes you play with the noise patch… and you have a powerful white noise bass!
