
How to Use Reverb Like a Pro
You’ve discovered what reverb is, you know the basic tools… but now you want to skyrocket your mix to the professional level.
You’re in the right place.
You’ve got better sounding reverbs than you’ve ever produced, and that’s what we at Mixxed love to see (and hear). You’ve got the right levels and a sweet balance with inspiring depth… but it’s still missing that edge.
It’s still a bit washed out, and that’s what we’re here to sort out.
Reverb Series
How to Use Reverb: A Beginners Guide
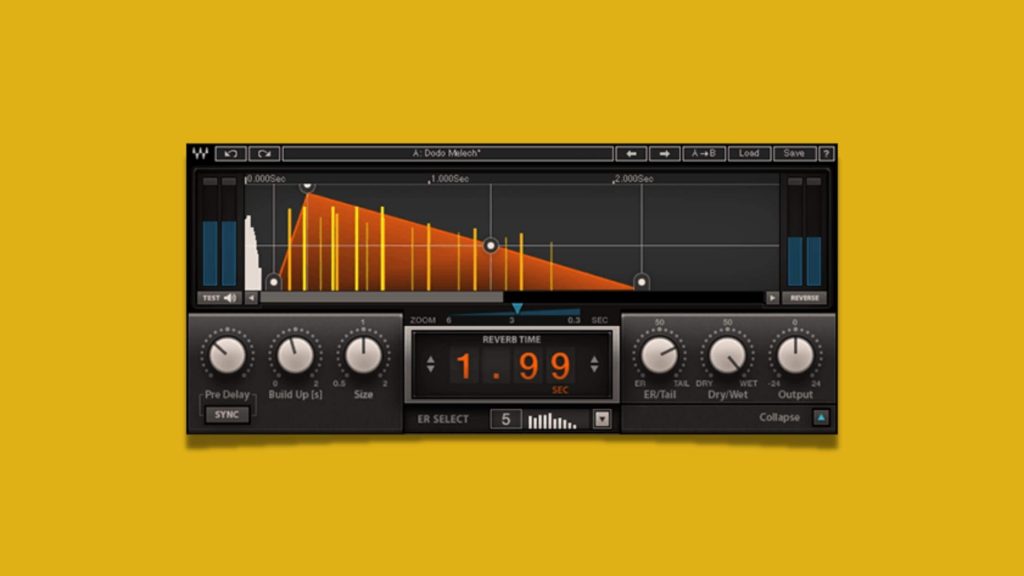
What is Reverb Pre-Delay?
Pre-delay is a time-based setting. Measured in milliseconds like the rest of the body of the reverb, it allows you to determine an amount of time before the reverb kicks in.
If you wanted a 25ms delay for the sound to play before reverb adds depth, pre-delay is your friend. The plugin will not start until the instrument has played for the amount of time that you set.
This allows the listener to grasp what the sound is doing before any reverb wets the signal. When listeners can do this, they can then anticipate what the rest of the sound will do and won’t have to finely pick out any nuances. For best results, experiment with delay times between 15ms and 75ms and see how you like it!
How to EQ Reverb
Now here’s how you bring clarity back to your mix.
Reverb should not get in the way of anything. Applying an EQ to your reverb bus (providing your gain staging has been done effectively) will allow you to effectively shape the frequencies that your reverb is touching and thus keep your reverb in the background.
Reverb should fill the frequency spaces that your instruments leave open, and be quieter in the spaces occupied by your instruments as to not distract your listener.
To start off while you’re learning, we recommend using a high pass filter on your reverb buses to get you started right! Remove anything below 450 Hz straight off the bat and experiment with cutting frequencies below 500 – 600 Hz.
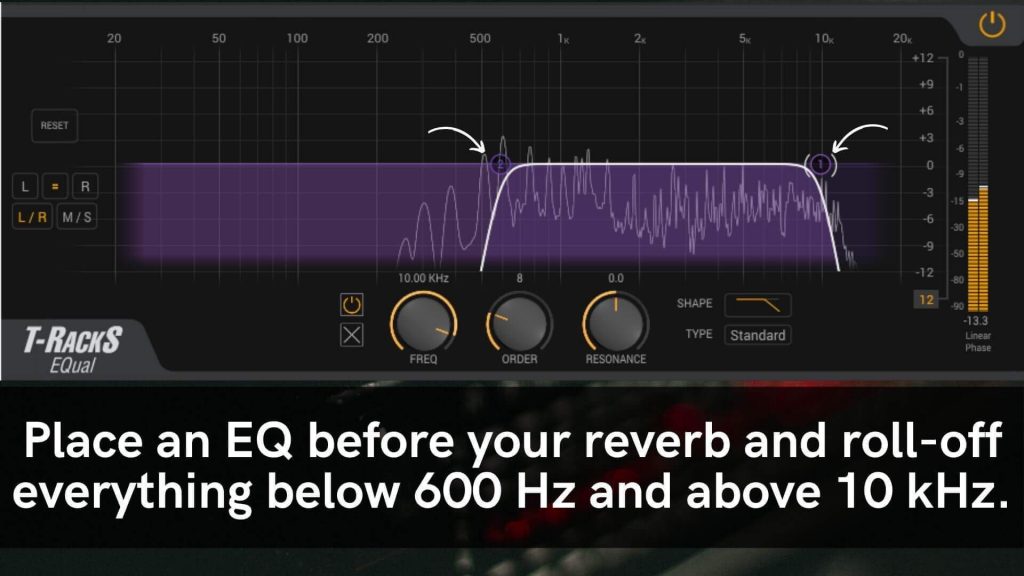
Next, make sure to cut anything above 10kHz too! Are you starting to hear how clarity has returned to your kick, bass and hats? But your track still has a beautiful amount of reverb and atmosphere?
So, that’s buses cleared up. But what about your individual aux tracks?
If you have a vocal sample that’s most prominent between 1 kHz and 5 kHz, place a notch filter to the reverb aux and apply a wide cut to the reverb channel with 3dB to 6dB reduction! Continue to experiment with this until your mix has full clarity!
The golden rule is to only have prominent reverb in frequency ranges where your instruments are not filling the space. Keep the reverb quiet where your instruments are doing their thing!
How to Compress Reverb
To add further clarity to your now almost pristine mix, it’s time to add compression to your reverb aux track! Furthermore, add sidechain compression!
Sometimes, rather than attenuating the amplitude of your reverb via an EQ, it may be more effective to add a sidechain so the amplitude is lowered automatically when your drums hit (for example).
It’ll quieten the reverb (amount based on your compressor settings) of your reverb aux when your drums hit but raise the reverb level back to “normal” when the drums are not hitting.
Another would be to parallel compress the vocal samples, but send the uncompressed vocals to the reverb aux.
Then you can blend the wet reverb signal with the compressed signal (that has no reverb on it) and give your instruments breathing room that way!
One last compression option available to you would be to compress the reverb aux straight with no side chain or parallel processing. This will create a flat threshold that your reverb will not breach and thus leave permanent room.
However, this method is very absolute and we recommend thoroughly experimenting with the previous two methods first. The goal here is breathing room, and some phrases in your tracks will allow for more of that than others.
With that said, what about automation?
Automate Your Reverb
We touched on automation in our beginner’s guide, but we’re going to give you the full breakdown here.
Your track should have a lot of diversity. There will be phrases that have a lot going on and some phrases that do not.
This is why it’s important to automate your reverb wet/dry signal, as well as the EQ and compression!
Don’t feel the need to automate all three of these utilities on every track… just where it’s needed.
Create automation clips for wet/dry, compression ratio and threshold, and EQ amplitude (and maybe even frequency ranges) so that you can compensate for when your track is busy and when it is not!