
How to Use PUSH.fm to Sell Your Sample Pack
PUSH.fm is a platform that provides promotional tools such as Fan Links that content creators & musicians can use to store and share all of their URL links with their audience. As well as fan links, PUSH.fm offer Content Unlocks; a resourceful tool that allows you to reward your audience with free content in exchange for their social interaction.
How to Use Fan Links to Sell Your Samples
Fan Links are trackable and customisable landing pages where you can store all of your links. You can then post a URL to this landing page on your social media pages and anywhere else your content is (as long as the platform in question allows for this action… Spotify, we’re looking at you).
Rather than have individual links to each of your pages, you can have one link that takes your fans to all of the pages you want them to see. We use it ourselves!
PUSH.fm provides you with statistics such as which of your pages is getting the most attention so you can take full control of your online presence.
Having a Fan Link for your sample pack (with a title such as “New Sample Pack Now Available”) will inform every fan who clicks on your PUSH link that you have a new pack. Rather than a user loading up Mixxed and hunt for your sample pack, you can simply insert a link to your pack and PUSH will take them straight to it.
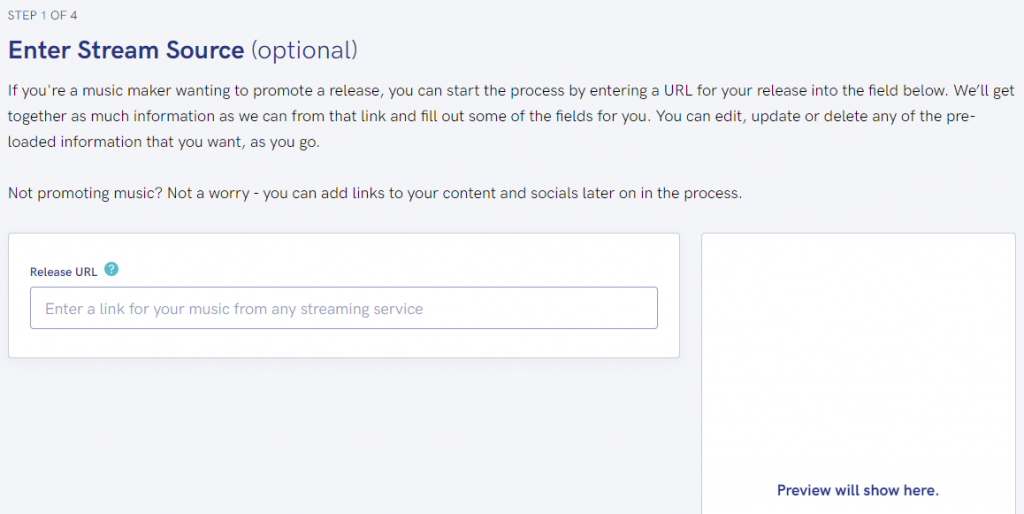
Step 1 is primarily for music. Should you enter a track URL here, the particular Fan Link campaign you’re in the process of creating is then based on that release you’ve pasted. If you have created a song, it’s live on a streaming platform like Spotify, and you now need to start promoting it… grab the Spotify URL and paste it into the Release URL box. PUSH will then find every instance of your track and list the different platforms like Apple Music and YouTube if your track is on those platforms.
However, for our purposes here, we’re going to leave this box blank and move onto the next page (which we are doing by pressing “Next Step” at the bottom of the page which isn’t featured in the screenshot). We’re leaving this blank because this campaign will feature our social media links, our site and our blog link – it’s not a campaign to promote a single or album release. It’s a permanent landing page to promote us as a brand!
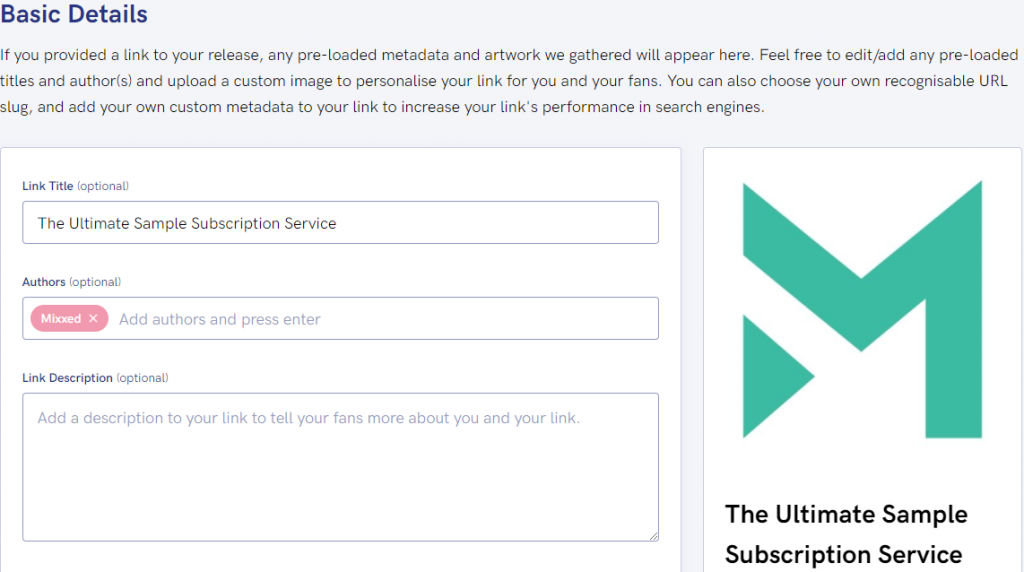
Step 2 is where we can start inserting our information. we’re replicating the Fan Link that we shared with you above, so all information (excluding the profile image) is exactly the same. You can insert a description of yourself (or not), insert your artist or brand name and a link title.
On display at the top of the Fan Link in clear view for the user to read and love are the link title, author and link description.
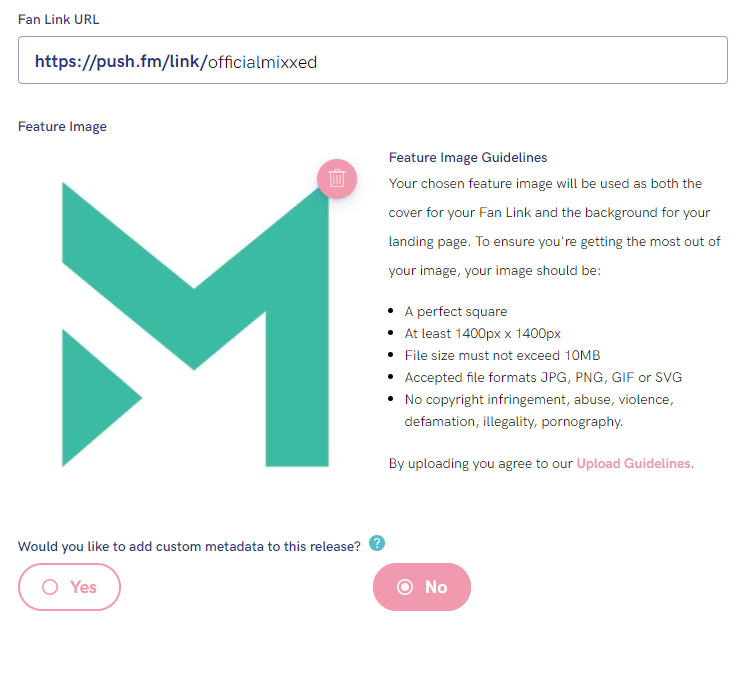
While still in step 2, you can insert your desired profile image and name the URL link. The URL link will be the link for the landing page itself.
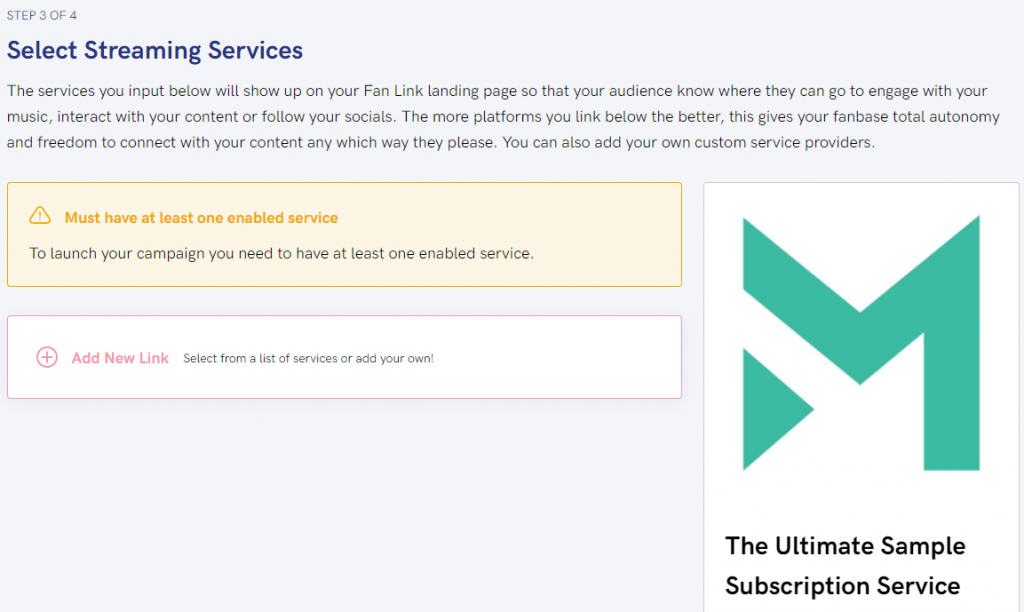
You’ll notice the big orange sign that says we haven’t inserted any links… well, PUSH isn’t wrong. To fix this issue, we have clicked “Add New Link”.
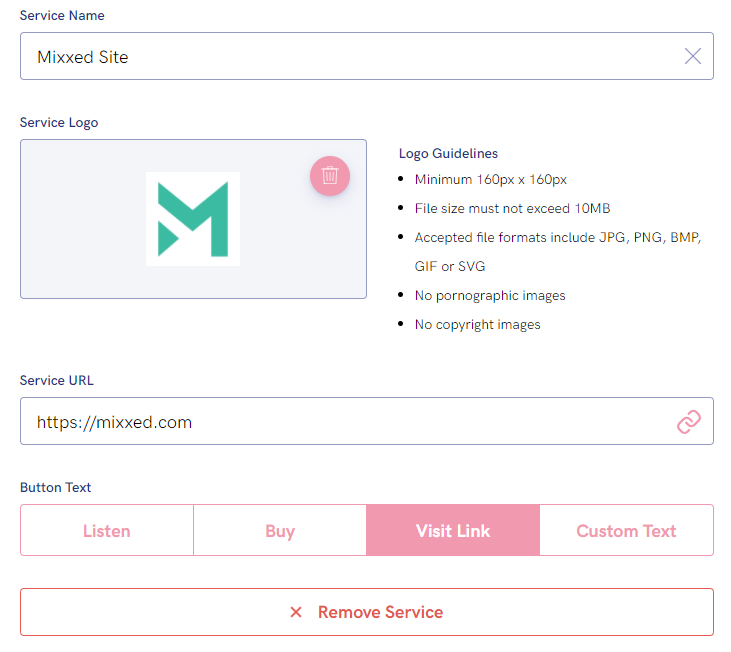
And we fixed it! You can see that we’ve simply inserted the link to our site (but you’d insert links to your pack), and we have also inserted a custom image. If this was a link to a sample pack, we would want to insert the epic artwork for the pack itself! We have selected “Visit Link” as button text, but you can insert a custom text by clicking “Custom Text”!
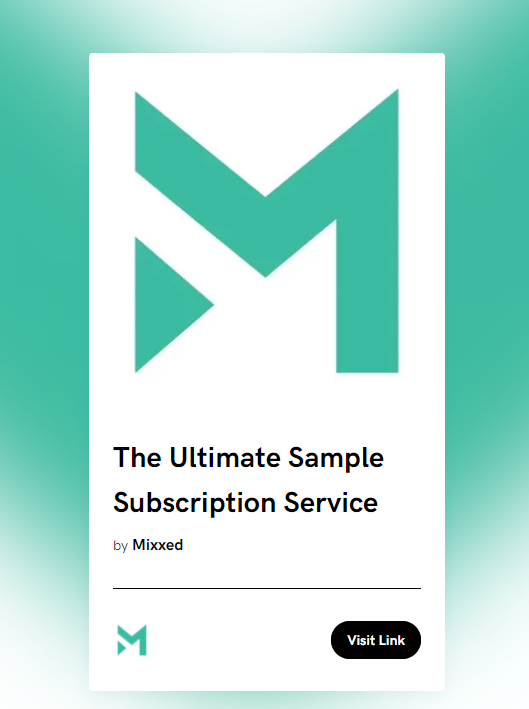
And here were are! The result of our expedition through PUSH has created our first Fan Link campaign that features a link to our site. It looks a little different to our official PUSH Fan Link… but why copy, ay?
To get to this result, all we would have had to do is use the same logo we used originally and add multiple links – one for our blog and one for each of our socials.
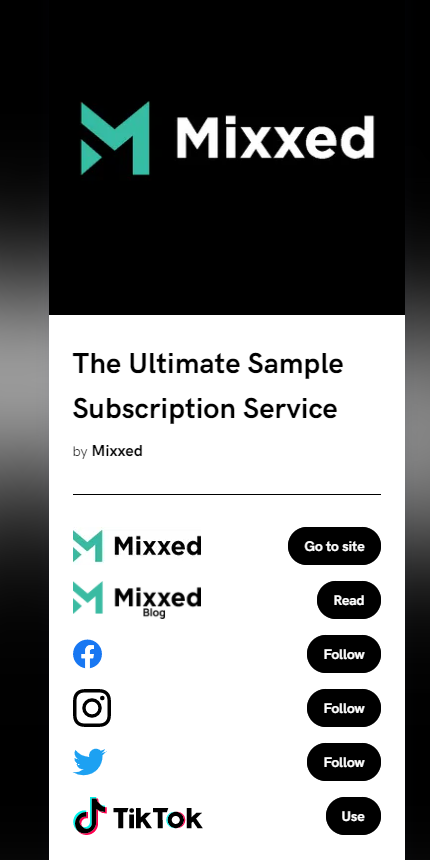
So, you can create a Fan Link that features each of your sample packs on Mixxed, your official website, your social media links, your Spotify pages… any online profile you have – you can link it!
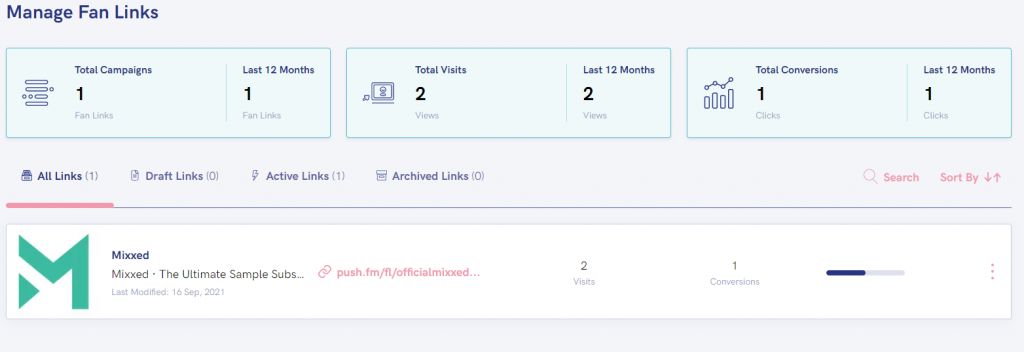
And now for the stats. You can see that we have options to view how many campaigns we have, how many visits our campaigns are getting, and the total conversions we are making.
“Conversions” is a marketing term that basically means how many clicks each of your links is getting. The dashboard only shows the total amount of clicks, so let’s go into the specifics.
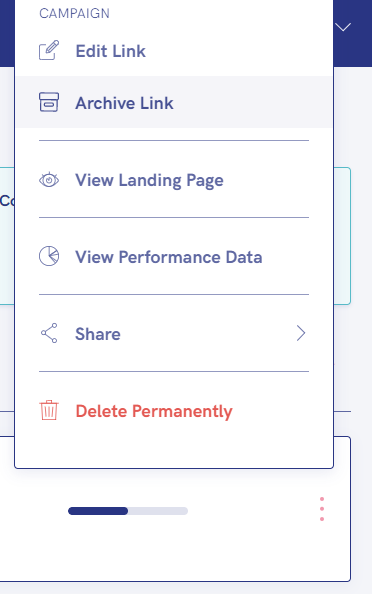
To get to the specific data we need to see, we are going to click on the 3 dots on the right-hand side of the campaign itself and the above pop up menu will show. We want “View Performance Data”.
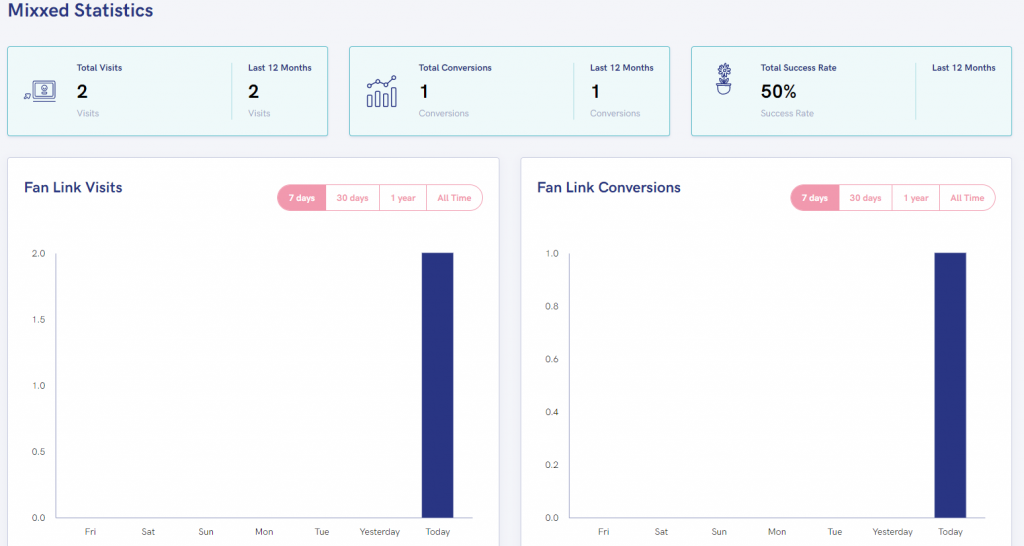
You can see at the top of the page that we have a summary. You’ll have to excuse the unpopularity of the Fan Link we just made… we’re not very good at making friends fast.
You can see that we have “Total Visits”, “Total Conversions” and “Total Success Rate” for the Fan Link. Again, this translates to how many people have found our Fan Link, how many people have clicked on one of (the only) links in the Fan Link, and then the difference (in %) of how many people have clicked on one of (the only) the links compared to the number of people that have not clicked on one but have visited your Fan Link.
So, let’s get into the specifics.
Fan Link Visits: How many people have visited your Fan Link.
Fan Link Conversions: How many people have clicked on one of your featured links after visiting your Fan Link.
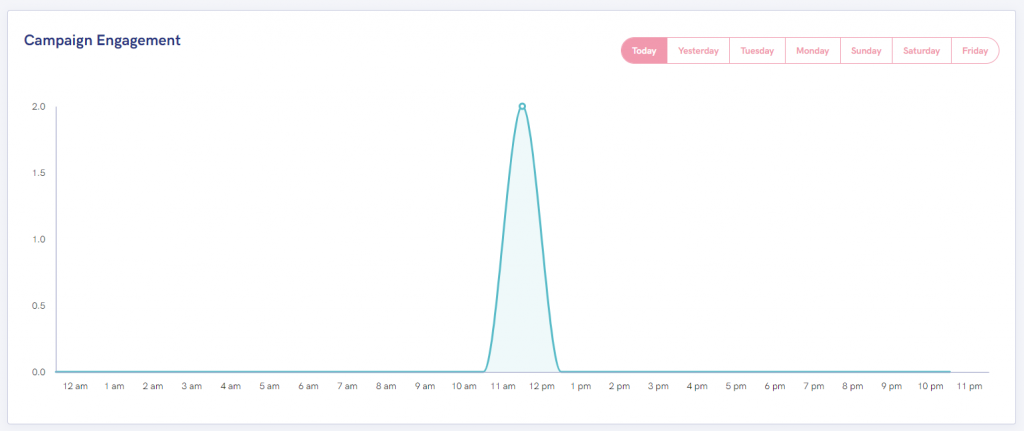
Campaign Engagement: Amount of people that are engaging with your campaign over a course of time. You can change the amount of time data available in the top right corner.
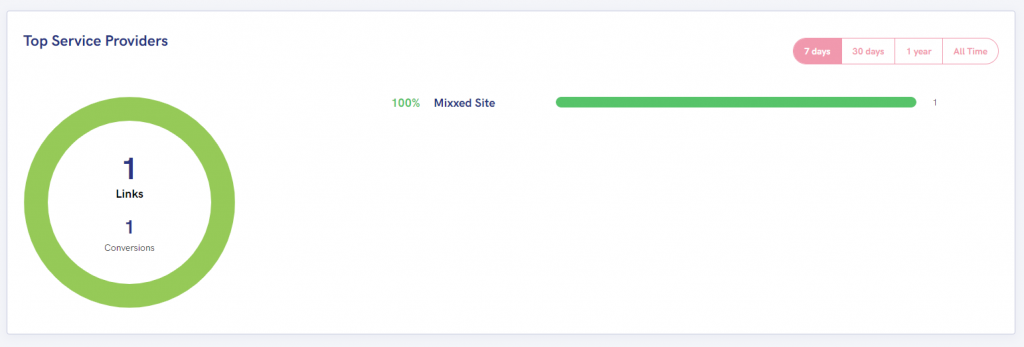
Top Service Providers: A breakdown of what links are getting the most engagement. As we have only created one link, there is only one “service provider”.
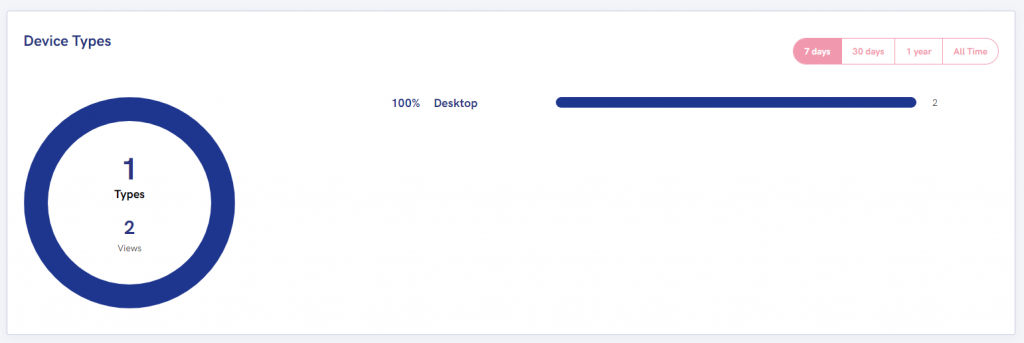
Device Types: An infographic that describes whether people are visiting your Fan link via a desktop, mobile, etc.

And, finally, we have Traffic Sources.
Traffic Sources describes where your fans are coming from. The image above doesn’;t do this infographic justice because we haven’t put out Fan Link URL anywhere.
So, if we did paste our new Fan Link on our Facebook page; we hope that we’d see some data to say people are visiting our Fan Link via Facebook. This same process stands for Twitter, Instagram, YouTube, etc.
The infographic is stating “PUSH.FM” because only we ourselves have visited the Fan Link (insert sad face) from the PUSH platform itself.
You can see that on the left there is a “Total Sources” dataset. This would tell us how many of the sites we have pasted our new Fan Link URL are actually earning us traffic.
If we had pasted our new URL on Facebook, YouTube, Instagram and Twitter and all four of them were guiding our fans to our Fan Link – the infographic would say 5 Sources (including PUSH.fm)
If we pasted our URL on all of these same platforms but none of our fans was accessing our Fan Link via Instagram… the infographic would state “4 Sources”.
Now you know how to create a Fan Link and have the necessary knowledge of how to use the PUSH stats.
Should you utilize the tools that PUSH.fm provide, you have one URL link that can store all of your profile, release, and sample pack links. This is powerful because it not only saves you the time of pasting each of your individual links to each of your profiles, but it also saves your fans the time of investigating each of your links from any of your profiles.
By centralising your digital marketing in this way, you eliminate the risk of taking up too much of your fans’ time (because we humans have very short attention spans) and risk them dropping off and doing something else. By keeping them engaged, you’re maximising opportunities for getting as many conversions as you can!
Not only this but the analytics available to you allow you to observe what your fans are doing when they’re on your landing page, where they’re coming from, whether they’re more likely to view your content on desktop or mobile, and – most importantly – what content is getting the most internet traffic… so you know what to make more of, whether to optimise for mobile or PC, what social platforms to market your content the hardest on… are you onboard yet?
Sign up here!
Conclusion
There we are. We’ve explored how you can creatively market your own Mixxed sample pack, how to sell your samples on MIxxed, and why PUSH.fm should be your number one marketing tool!
Selling anything is hard when you’re just starting out. What’s important is to get inside the heads of your target market, and know how to get the most out of search engines.
You need to learn and understand how to create a strong marketing campaign and be aware of the digital tools available to you that will help you centralise your online presence.
Don’t be afraid to give your content away for free. People love free stuff and will be so inclined to talk about the content they’ve received as well as who they received it from – word of mouth is what you should be aiming for throughout your campaign!
Be aware of what influencers operate in your field and begin building relationships. This is a slow process and you probably won’t get a great result at first. But the more you do it, the more content you offer and the more reputation you build will add up to a higher success rate!
By following the steps in these guides, you’ll be selling samples here, there, and everywhere in no time!